

Digital Turbine
Use this guide to configure Digital Turbine bidding in CloudX.
Keep using the platform integration guides for SDK installation and ad loading:
For platform-specific Digital Turbine adapter requirements, see:
- Android Digital Turbine Adapter page
- iOS Digital Turbine Adapter page
- Unity Digital Turbine Adapter page
Overview
Use the following values:
Digital Turbine App IDin CloudX app mappingDigital Turbine Placement IDin CloudX ad-unit mapping- CloudX
app_keyand CloudX ad unit identifiers in app code
CloudX uses the bidder name Digital Turbine in the dashboard. If you see Fyber Marketplace branding in external network materials or the DT Console, it refers to the same network here.
Supported ad formats:
- Banner
- MREC
- Interstitial
- Rewarded
- Native
Step 1. Complete Digital Turbine-side setup
- Sign in to the DT Console.
- Add the app you want to monetize.
- Copy the Digital Turbine App ID for that app.
- Create placements for each format you want to use.
- Copy each Placement ID.
- Update your app-ads.txt file using Digital Turbine’s current requirements. Add Digital Turbine as a direct seller with your DT Publisher ID, and include Digital Turbine’s official reseller list.
- Complete Digital Turbine review and payout setup before expecting live demand.
If this is a new Digital Turbine publisher account, your assigned Digital Turbine account manager must approve the account in the DT Console before inventory can go live. Existing Digital Turbine publishers do not need an additional activation step beyond creating the app and placements.
Official Digital Turbine references:
Step 2. Enable Digital Turbine in CloudX
Go to Bidders in the dashboard navigation, select Digital Turbine in the bidder list, and click Enable.
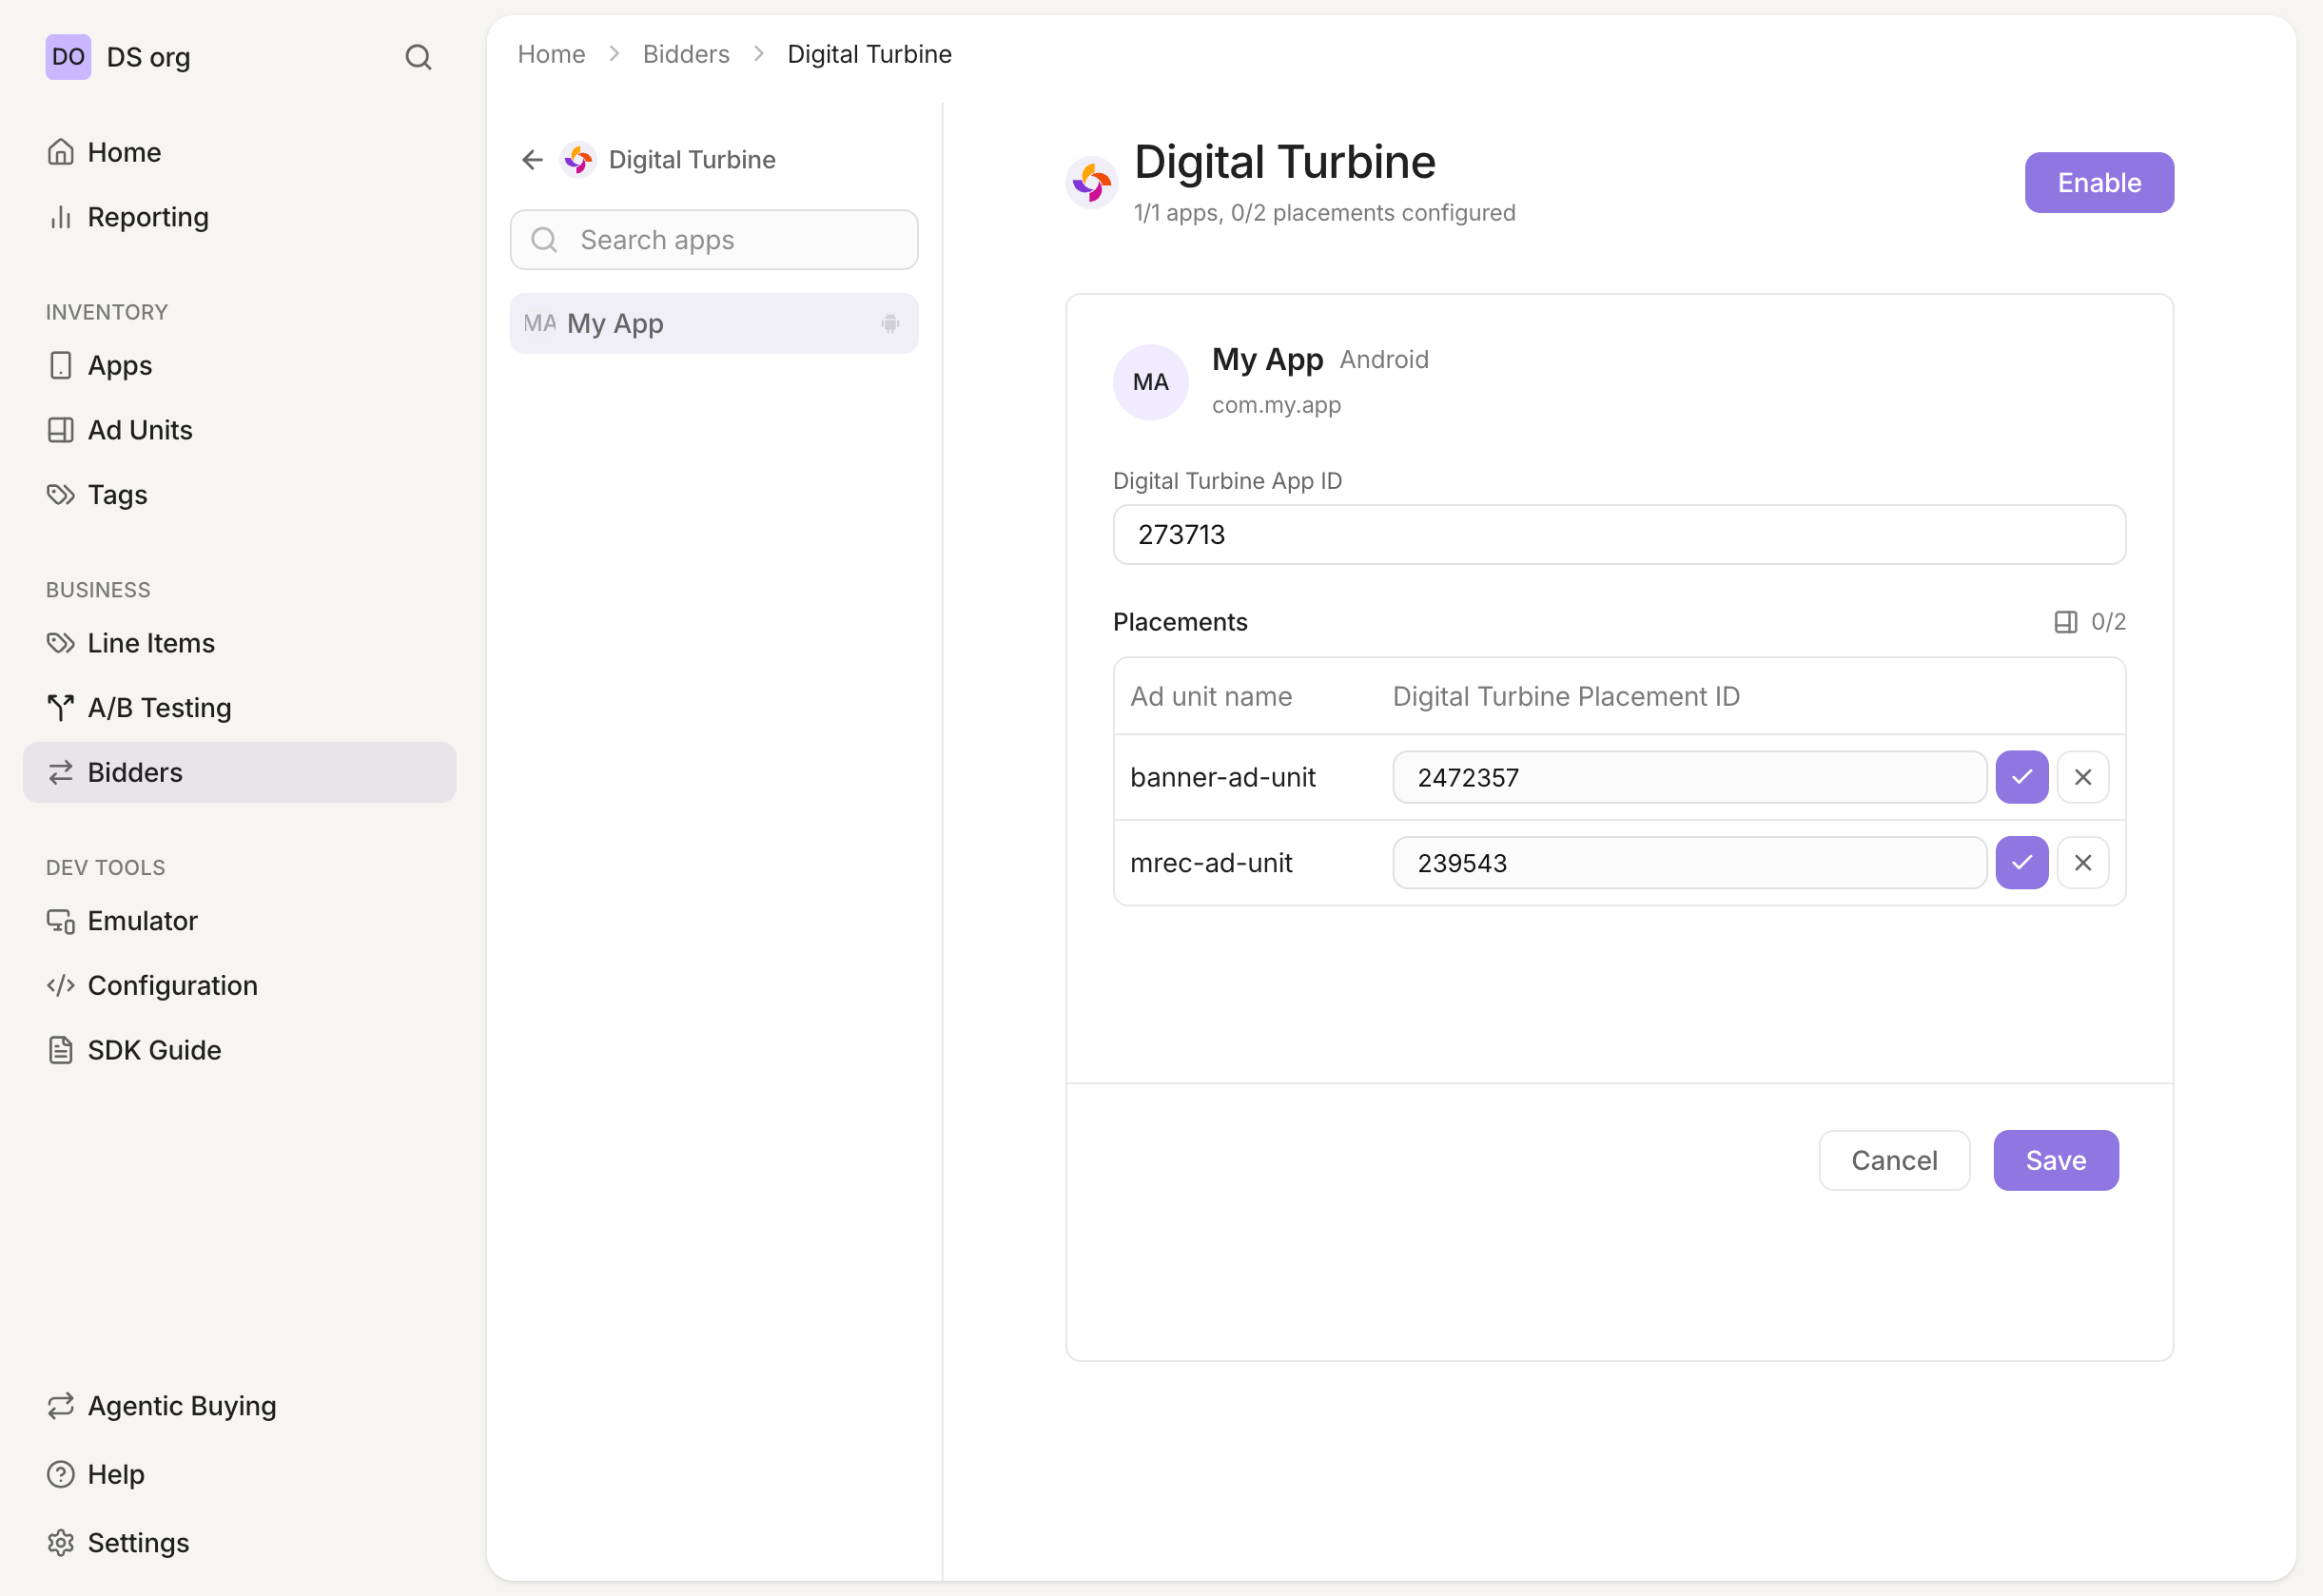
If Digital Turbine is disabled, CloudX will not request bids even if your mappings are correct.
After enabling, you can enter Digital Turbine App IDs and Placement IDs from this same page: search for an app, select it, and fill in the App ID plus Placement IDs for each eligible ad unit. You can also configure the same values from the app and ad-unit pages in the next steps.
Step 3. Configure your CloudX app
Go to Inventory -> Apps and create or open the app that matches your mobile application. Enter the Digital Turbine App ID for that app.
| CloudX field | Value to enter | Required |
|---|---|---|
Digital Turbine App ID | Your Digital Turbine App ID | Yes |
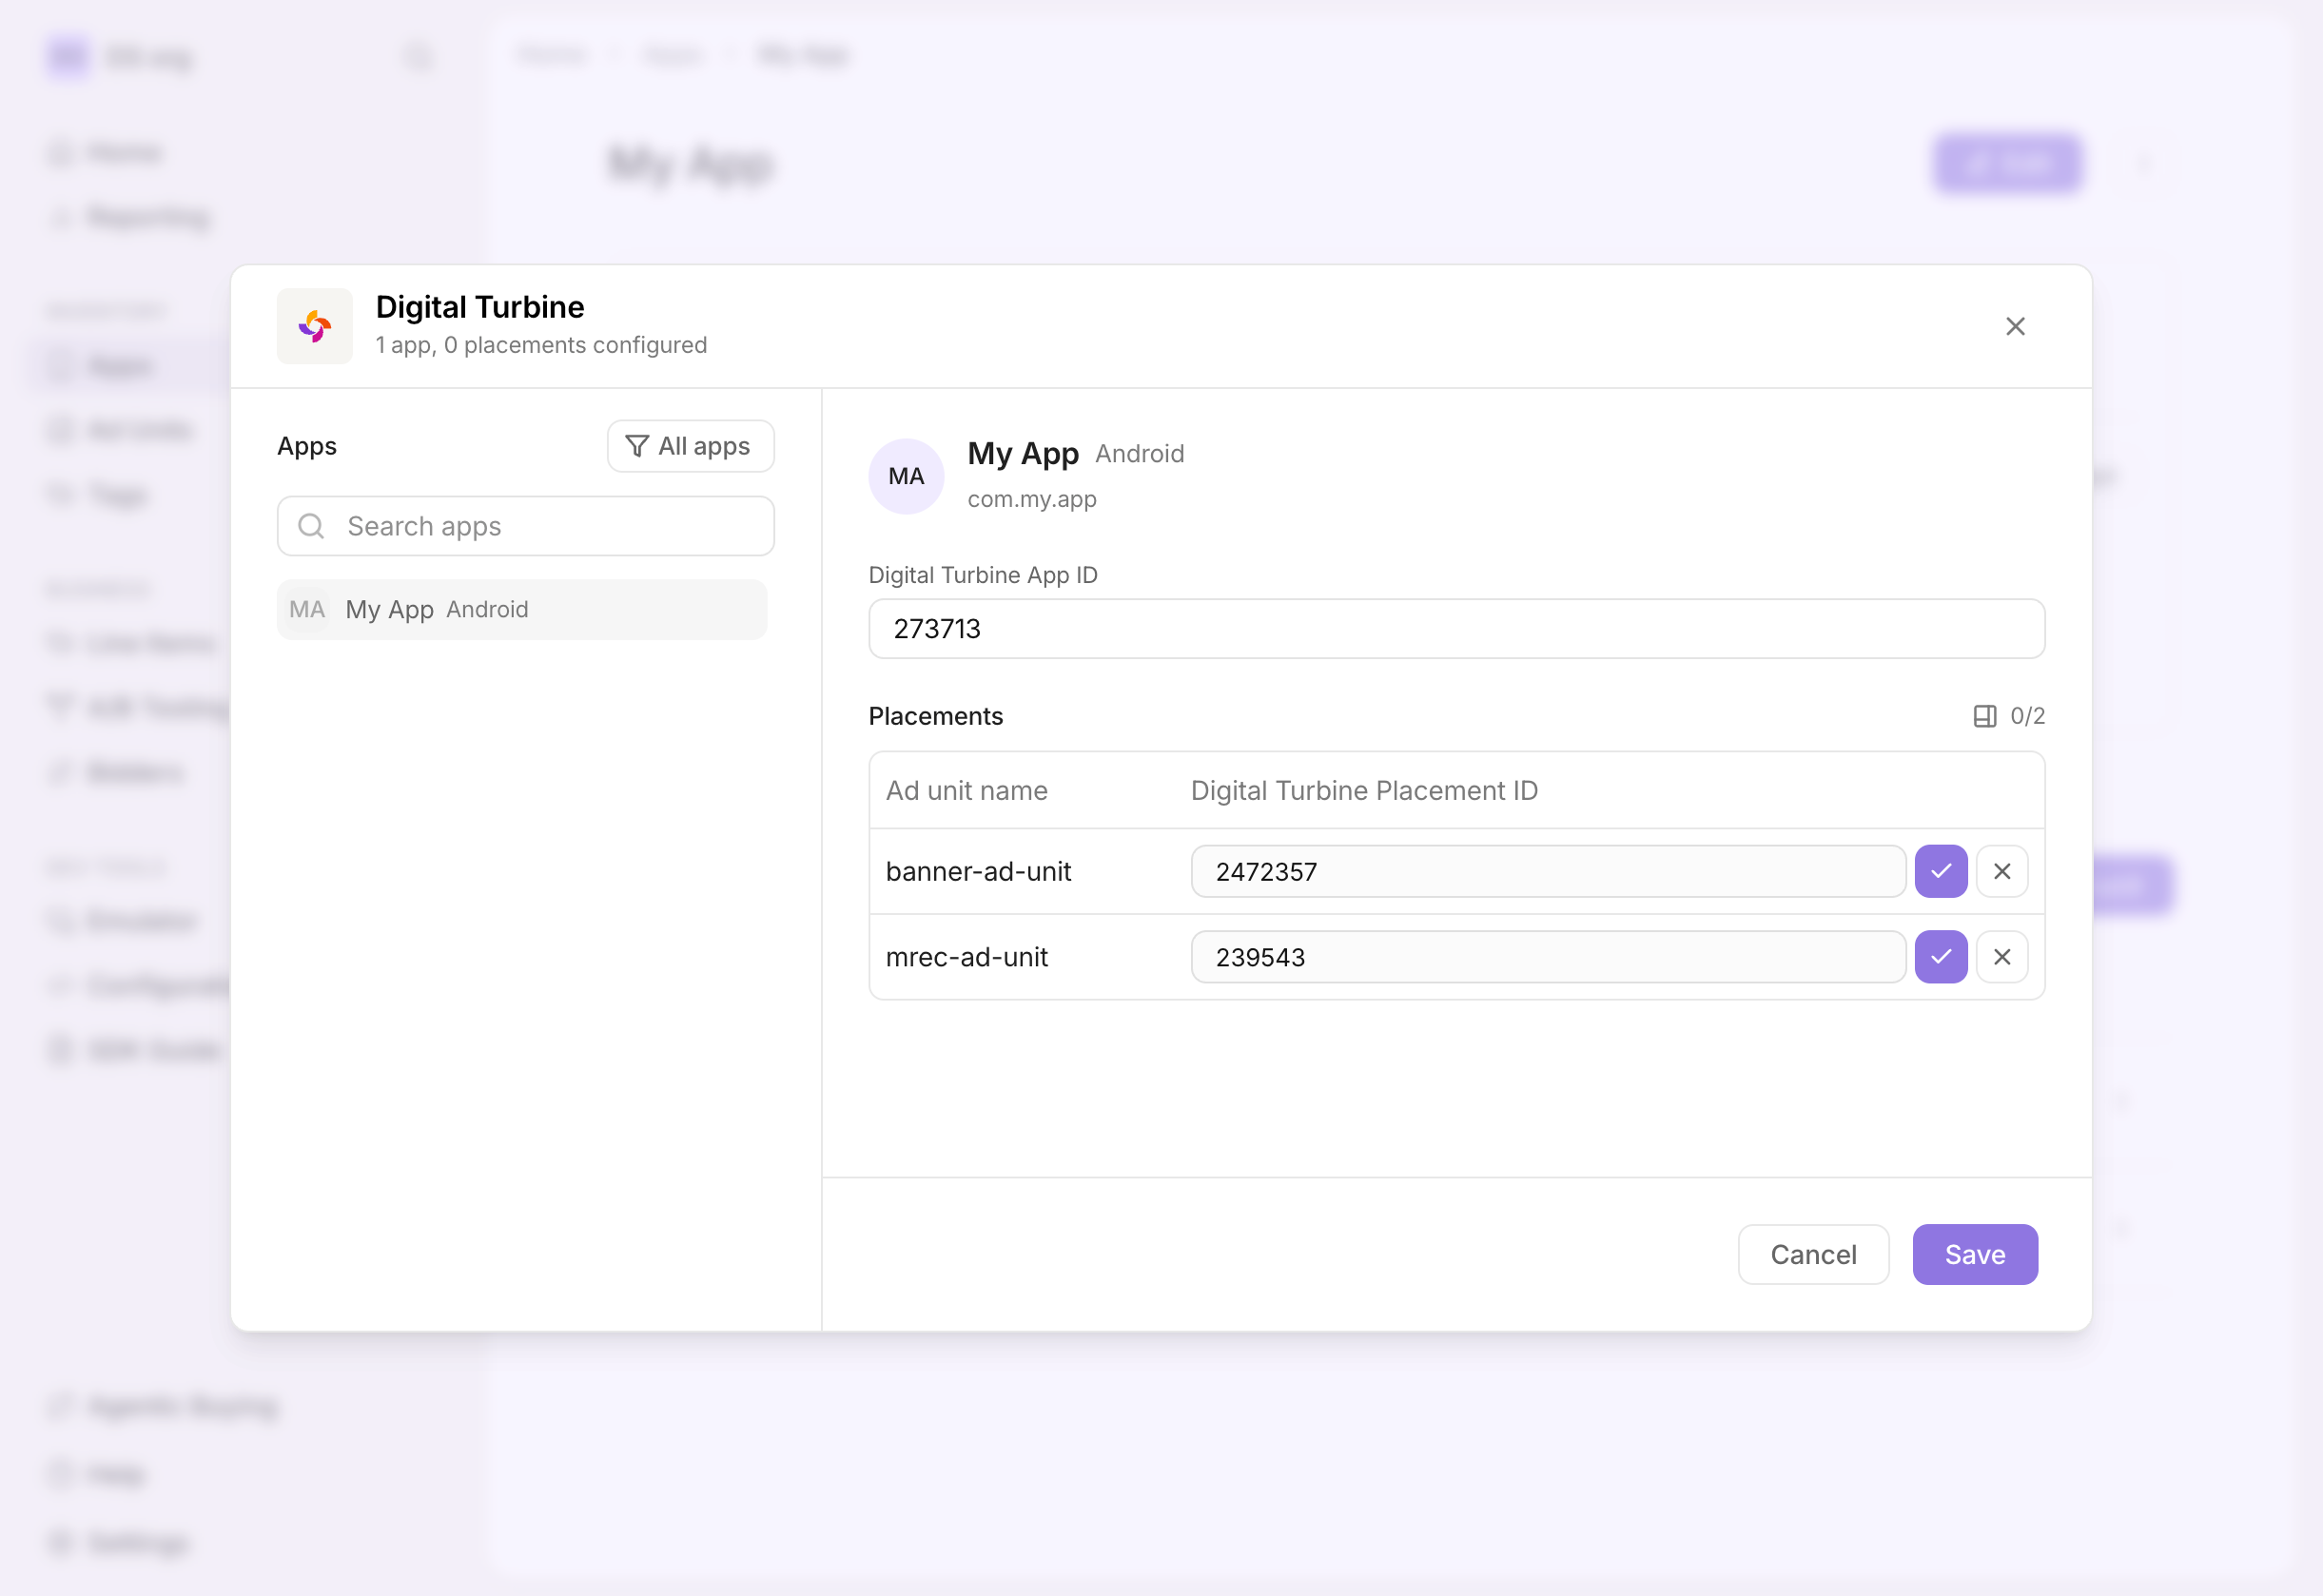
From this same app mapping view you can also enter Placement IDs for each of the app’s ad units — the same Placement ID values you can set from Bidders or from an individual ad-unit page.
Also copy the CloudX app_key from the app details page. Use the CloudX app_key in Android or iOS code.
Step 4. Configure CloudX ad units
Go to Inventory -> Ad units and add the mapping below for each eligible ad unit.
| CloudX field | Value to enter | Required |
|---|---|---|
Digital Turbine Placement ID | The Digital Turbine Placement ID for that ad unit and format | Yes |
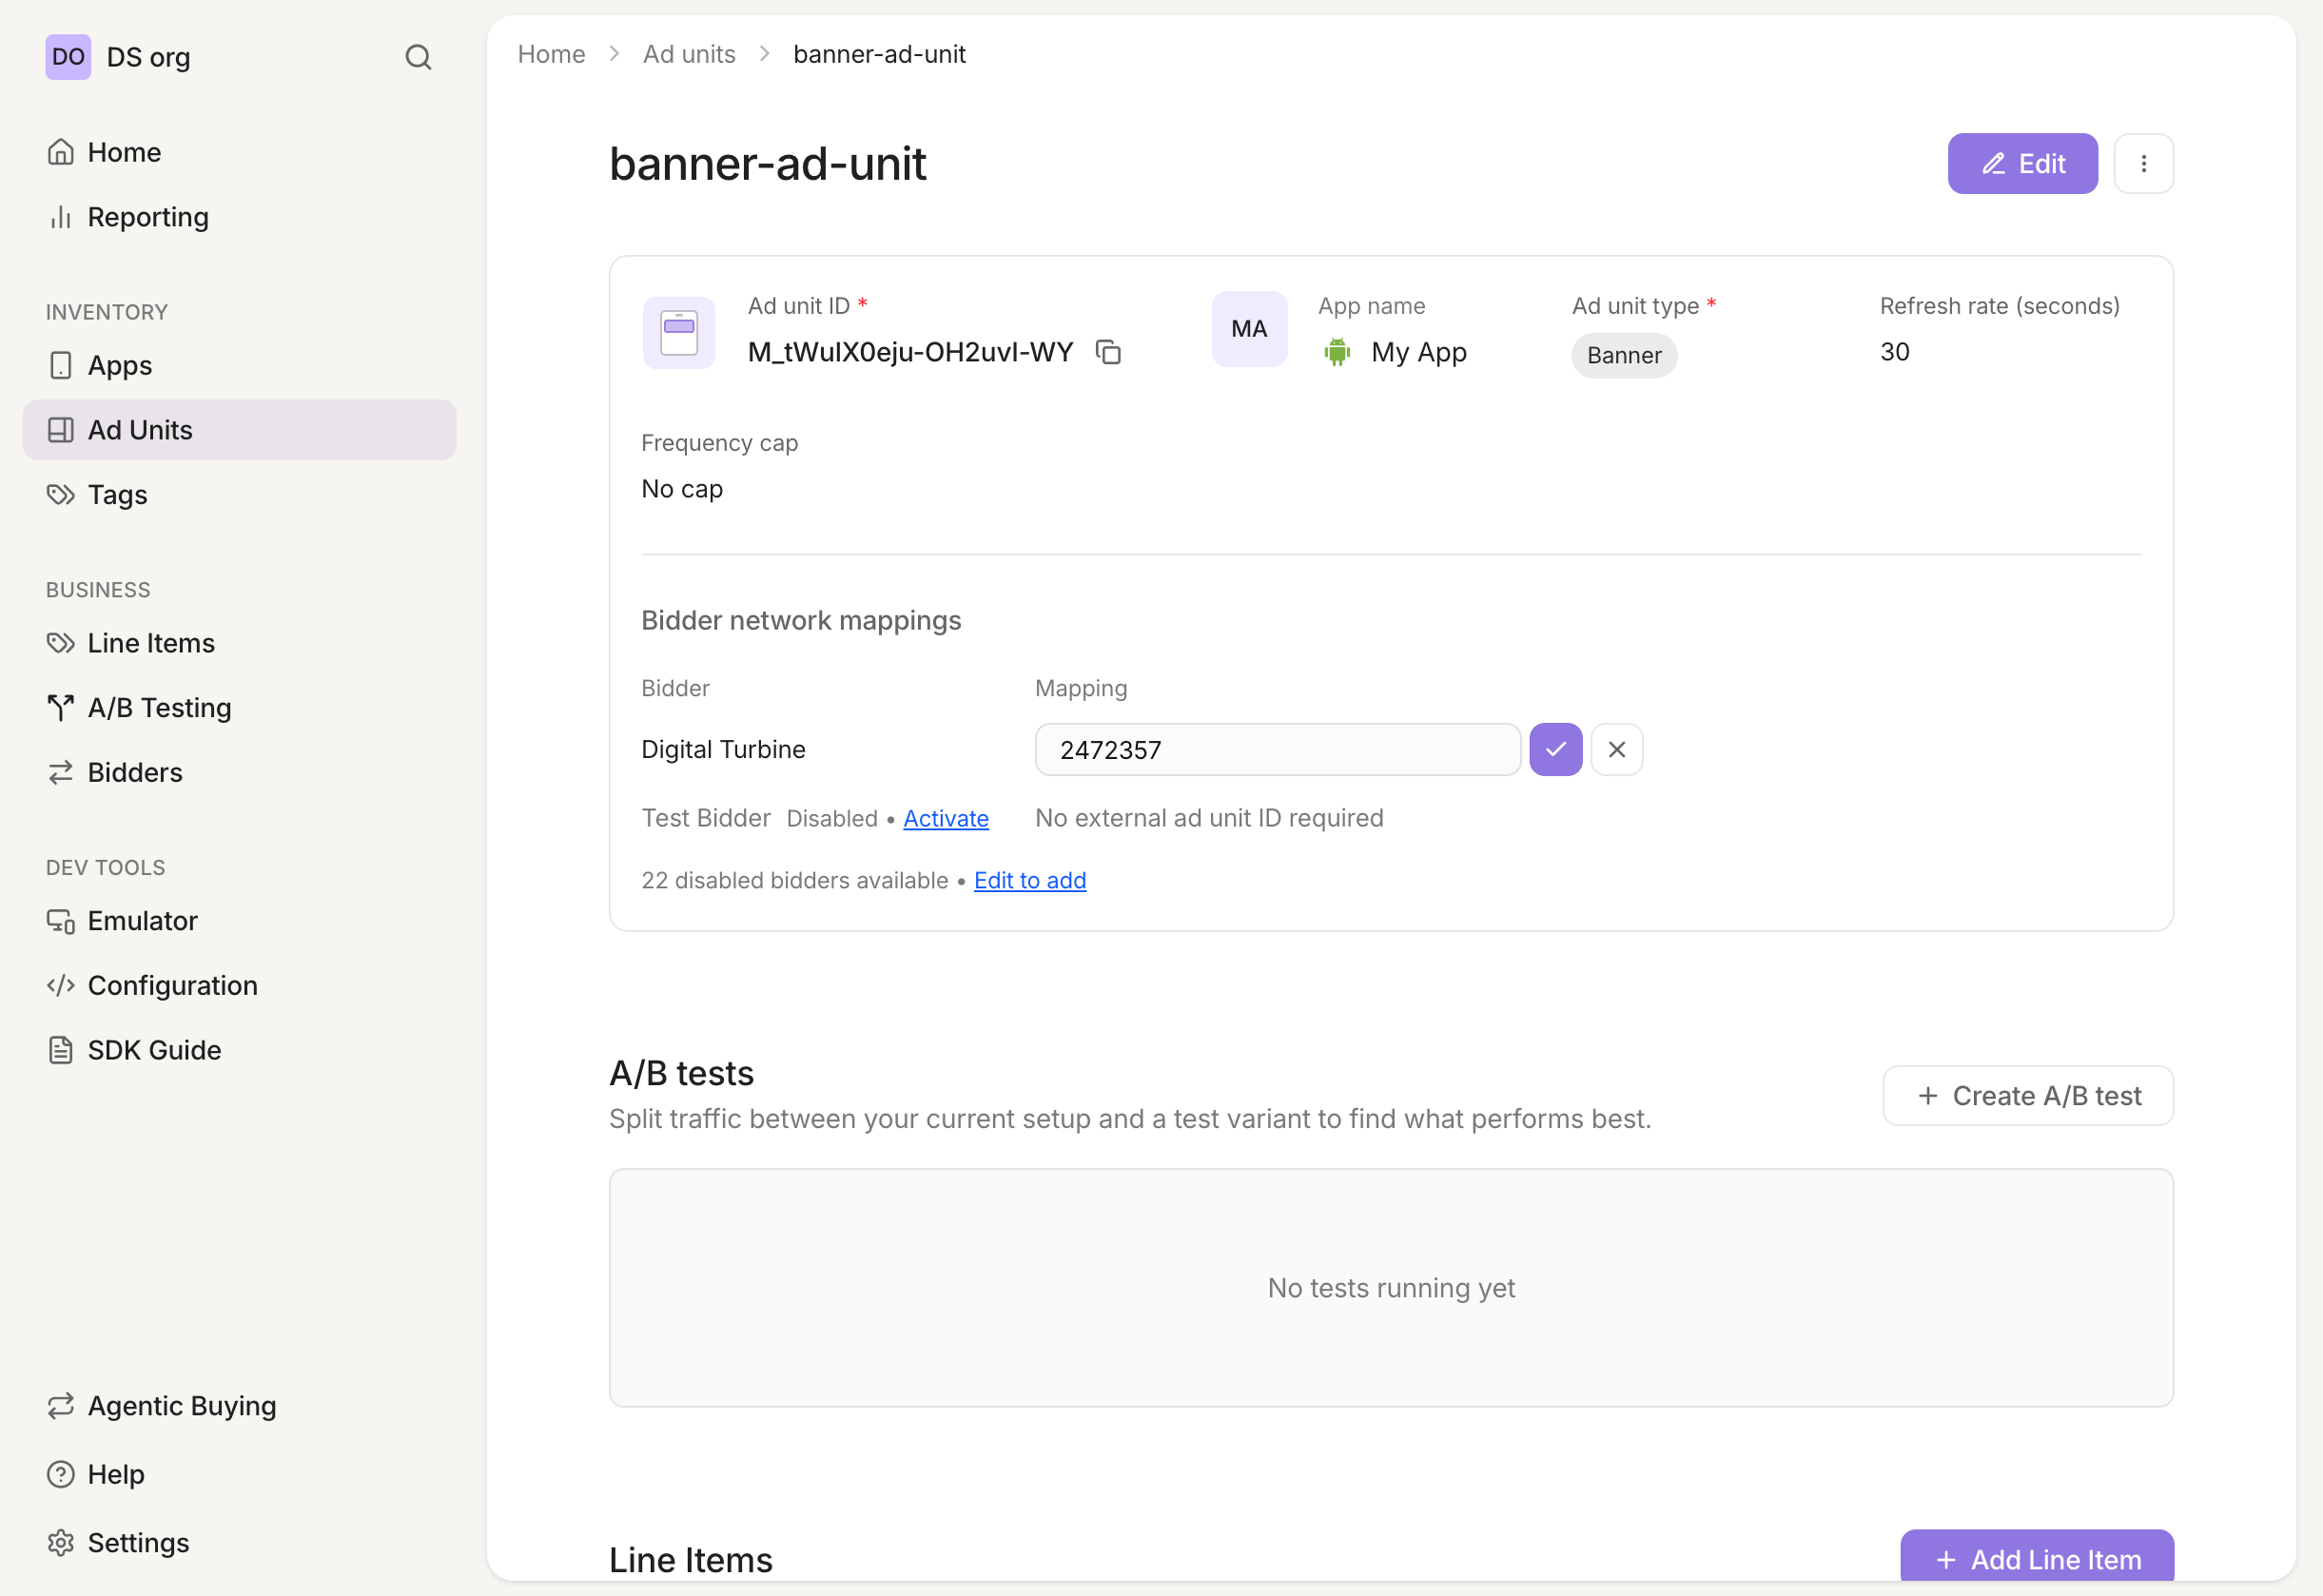
- Treat
Digital Turbine Placement IDas required on both platforms. - Match the placement to the correct CloudX ad-unit format.
- Use a separate placement for each CloudX ad unit or format as needed.
Step 5. Add Digital Turbine line items
Go to Line Items and create line items for bidder Digital Turbine on each CloudX ad unit where Digital Turbine should compete.
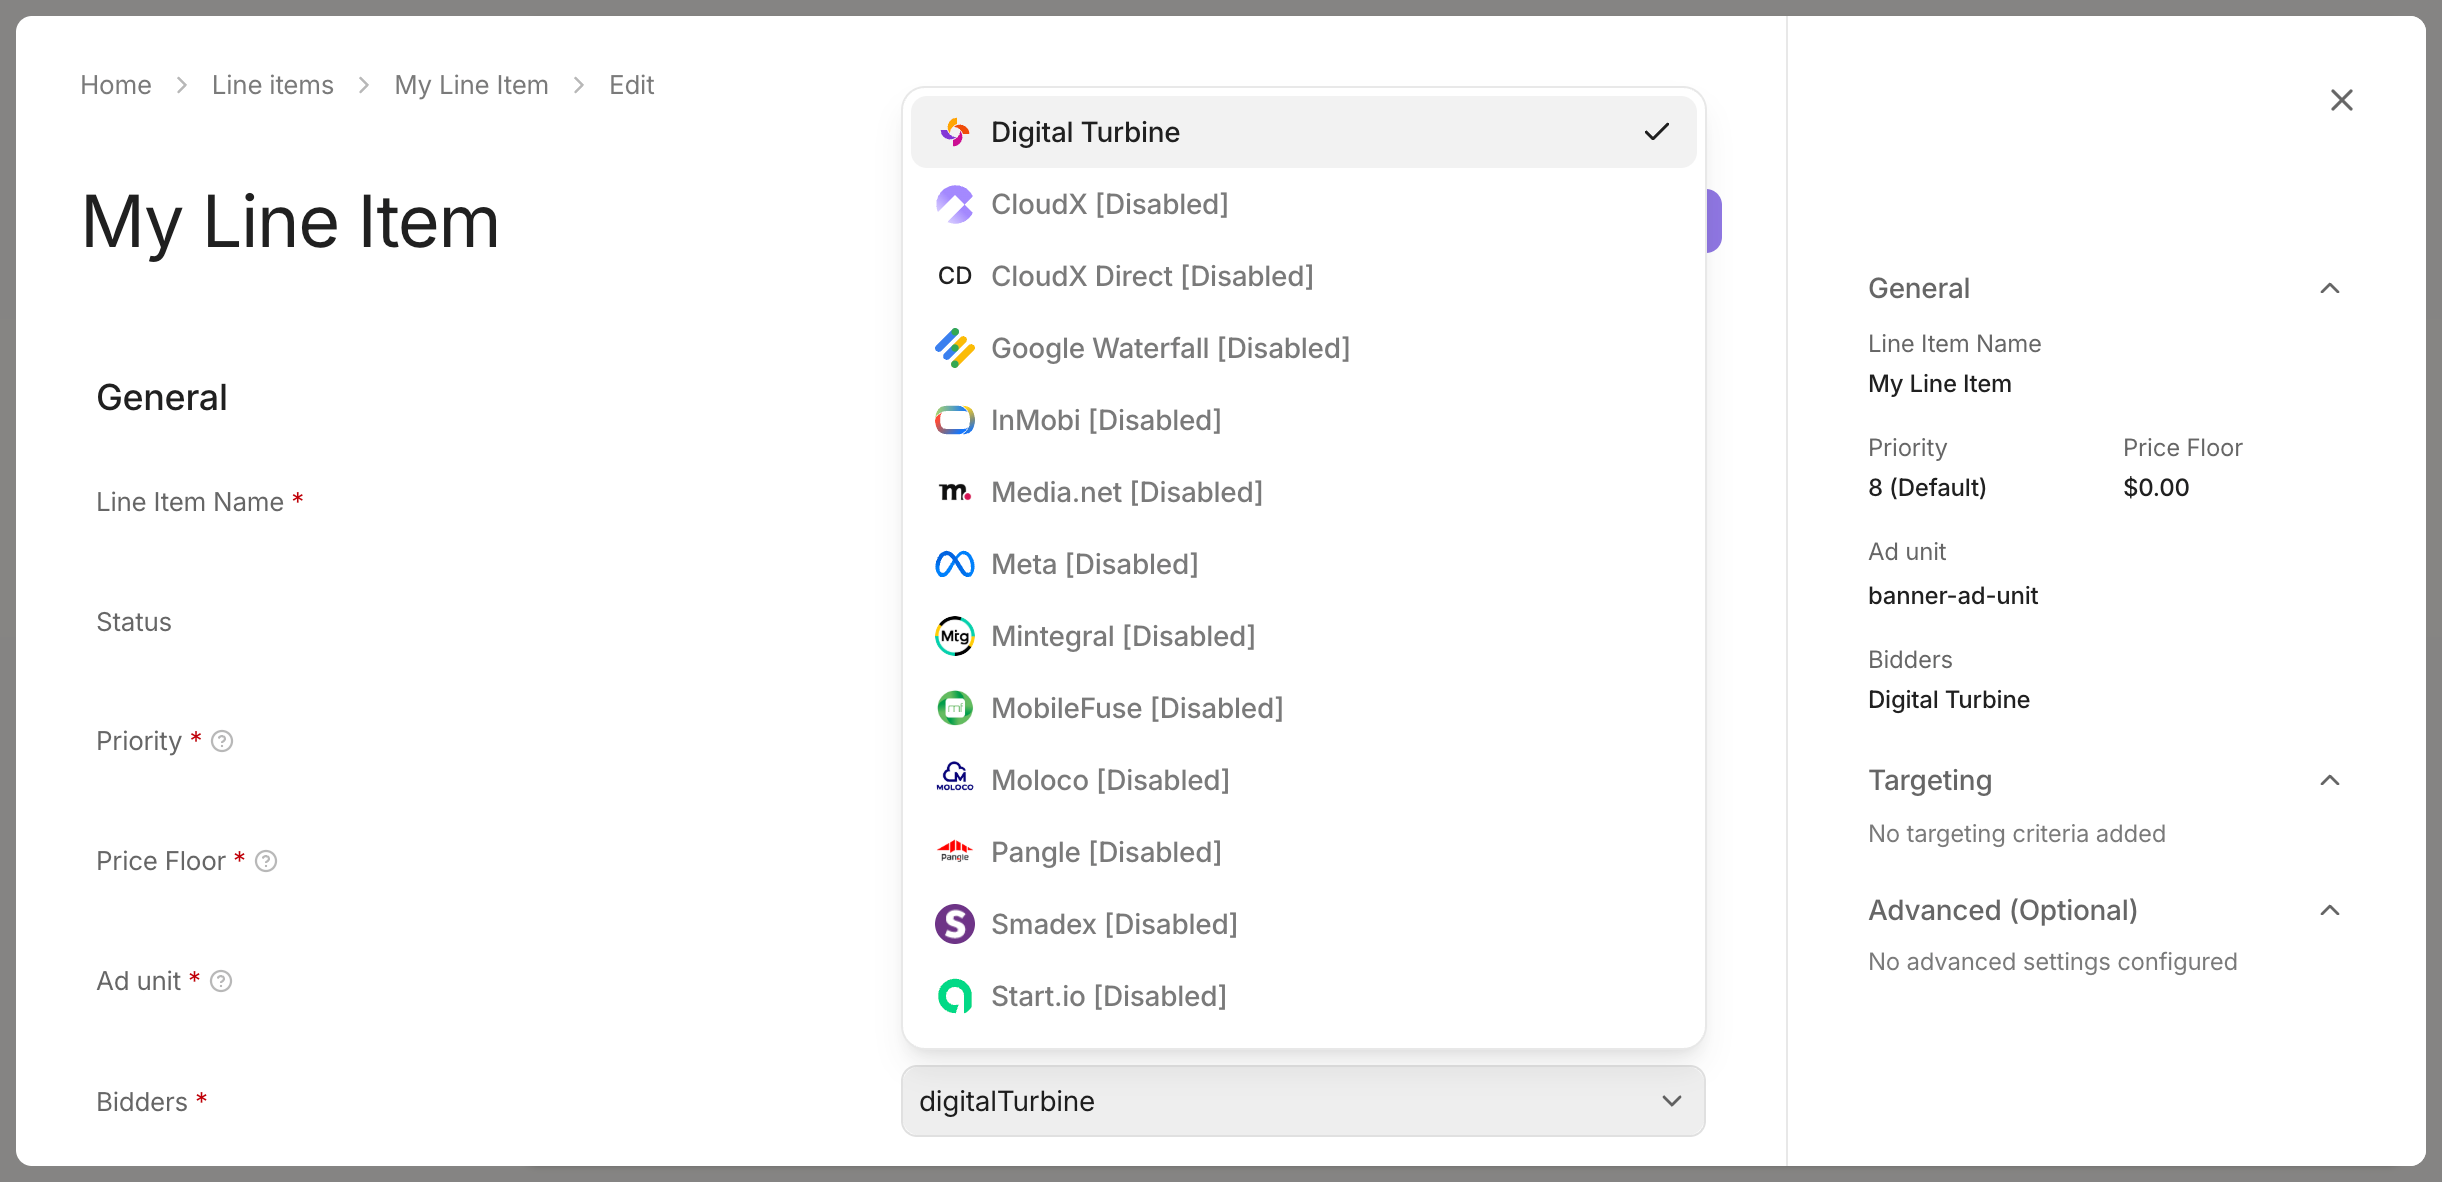
- Use bidder
Digital Turbine - Match the line item to the correct ad format
- Repeat the setup for each ad unit where Digital Turbine should bid
Step 6. Finish app integration
Complete the integration and adapter setup for your platform:
- Android integration guide
- iOS integration guide
- Unity integration guide
- Android Digital Turbine Adapter page
- iOS Digital Turbine Adapter page
- Unity Digital Turbine Adapter page
In app code:
- Initialize CloudX with the CloudX
app_key - Load ads using CloudX ad unit identifiers
- Do not pass Digital Turbine App IDs or Placement IDs into app code
- For Interstitial and Rewarded ads, call
show()only after the ad is ready
Step 7. Test and validate
- Register your device as a CloudX test device: go to
Dev Tools→Test Devices, add the device with the app in its scope, and turn onTest traffic. CloudX sendstest=1on outgoing Digital Turbine bid requests from registered CloudX test devices. - Optionally, register the same device as a test device in the DT Console. Digital Turbine returns test ads for devices registered there even when the bid request has
test=0. - Build and run the app with the CloudX
app_keyand the correct CloudX ad unit identifiers. - Request an ad from each mapped ad unit.
- Confirm that the ad loads and that Digital Turbine participates or wins where expected.
Troubleshooting
Digital Turbine is not bidding
Check the following first:
Digital Turbineis enabled in theBidderssection- The app has a valid
Digital Turbine App ID - The ad unit has a valid
Digital Turbine Placement ID - A
Digital Turbineline item exists for the ad unit - For new Digital Turbine publisher accounts, your Digital Turbine account manager has approved the account in the DT Console
- Your app-ads.txt file includes Digital Turbine’s required entries with your DT Publisher ID
Digital Turbine bids but the ad does not render
Check the following:
- Your app is using the CloudX
app_key, not a Digital Turbine ID - Your app is loading the intended CloudX ad unit
- The placement belongs to the correct Digital Turbine app and format
- The Digital Turbine adapter is installed and its platform requirements are complete
- You are testing on a physical iOS device. On the iOS Simulator CloudX does not initialize the Digital Turbine adapter, so a Digital Turbine bid cannot render there; see the iOS known issues
The placement looks correct but loads still fail
The mobile adapters require a valid Digital Turbine Placement ID at load time. Re-check the ad-unit-level placement mapping in CloudX.
Mapping Reference
| CloudX field | Internal key | Scope |
|---|---|---|
Digital Turbine App ID | app_id | App |
Digital Turbine Placement ID | placement_id | Ad unit |
The DT Publisher ID is used only for app-ads.txt. It is not a CloudX mapping field.