> ## Documentation Index
> Fetch the complete documentation index at: https://docs.cloudx.io/llms.txt
> Use this file to discover all available pages before exploring further.
# Account
> Manage your CloudX account settings, profile information, and team members. Invite users to collaborate and assign roles to control access.
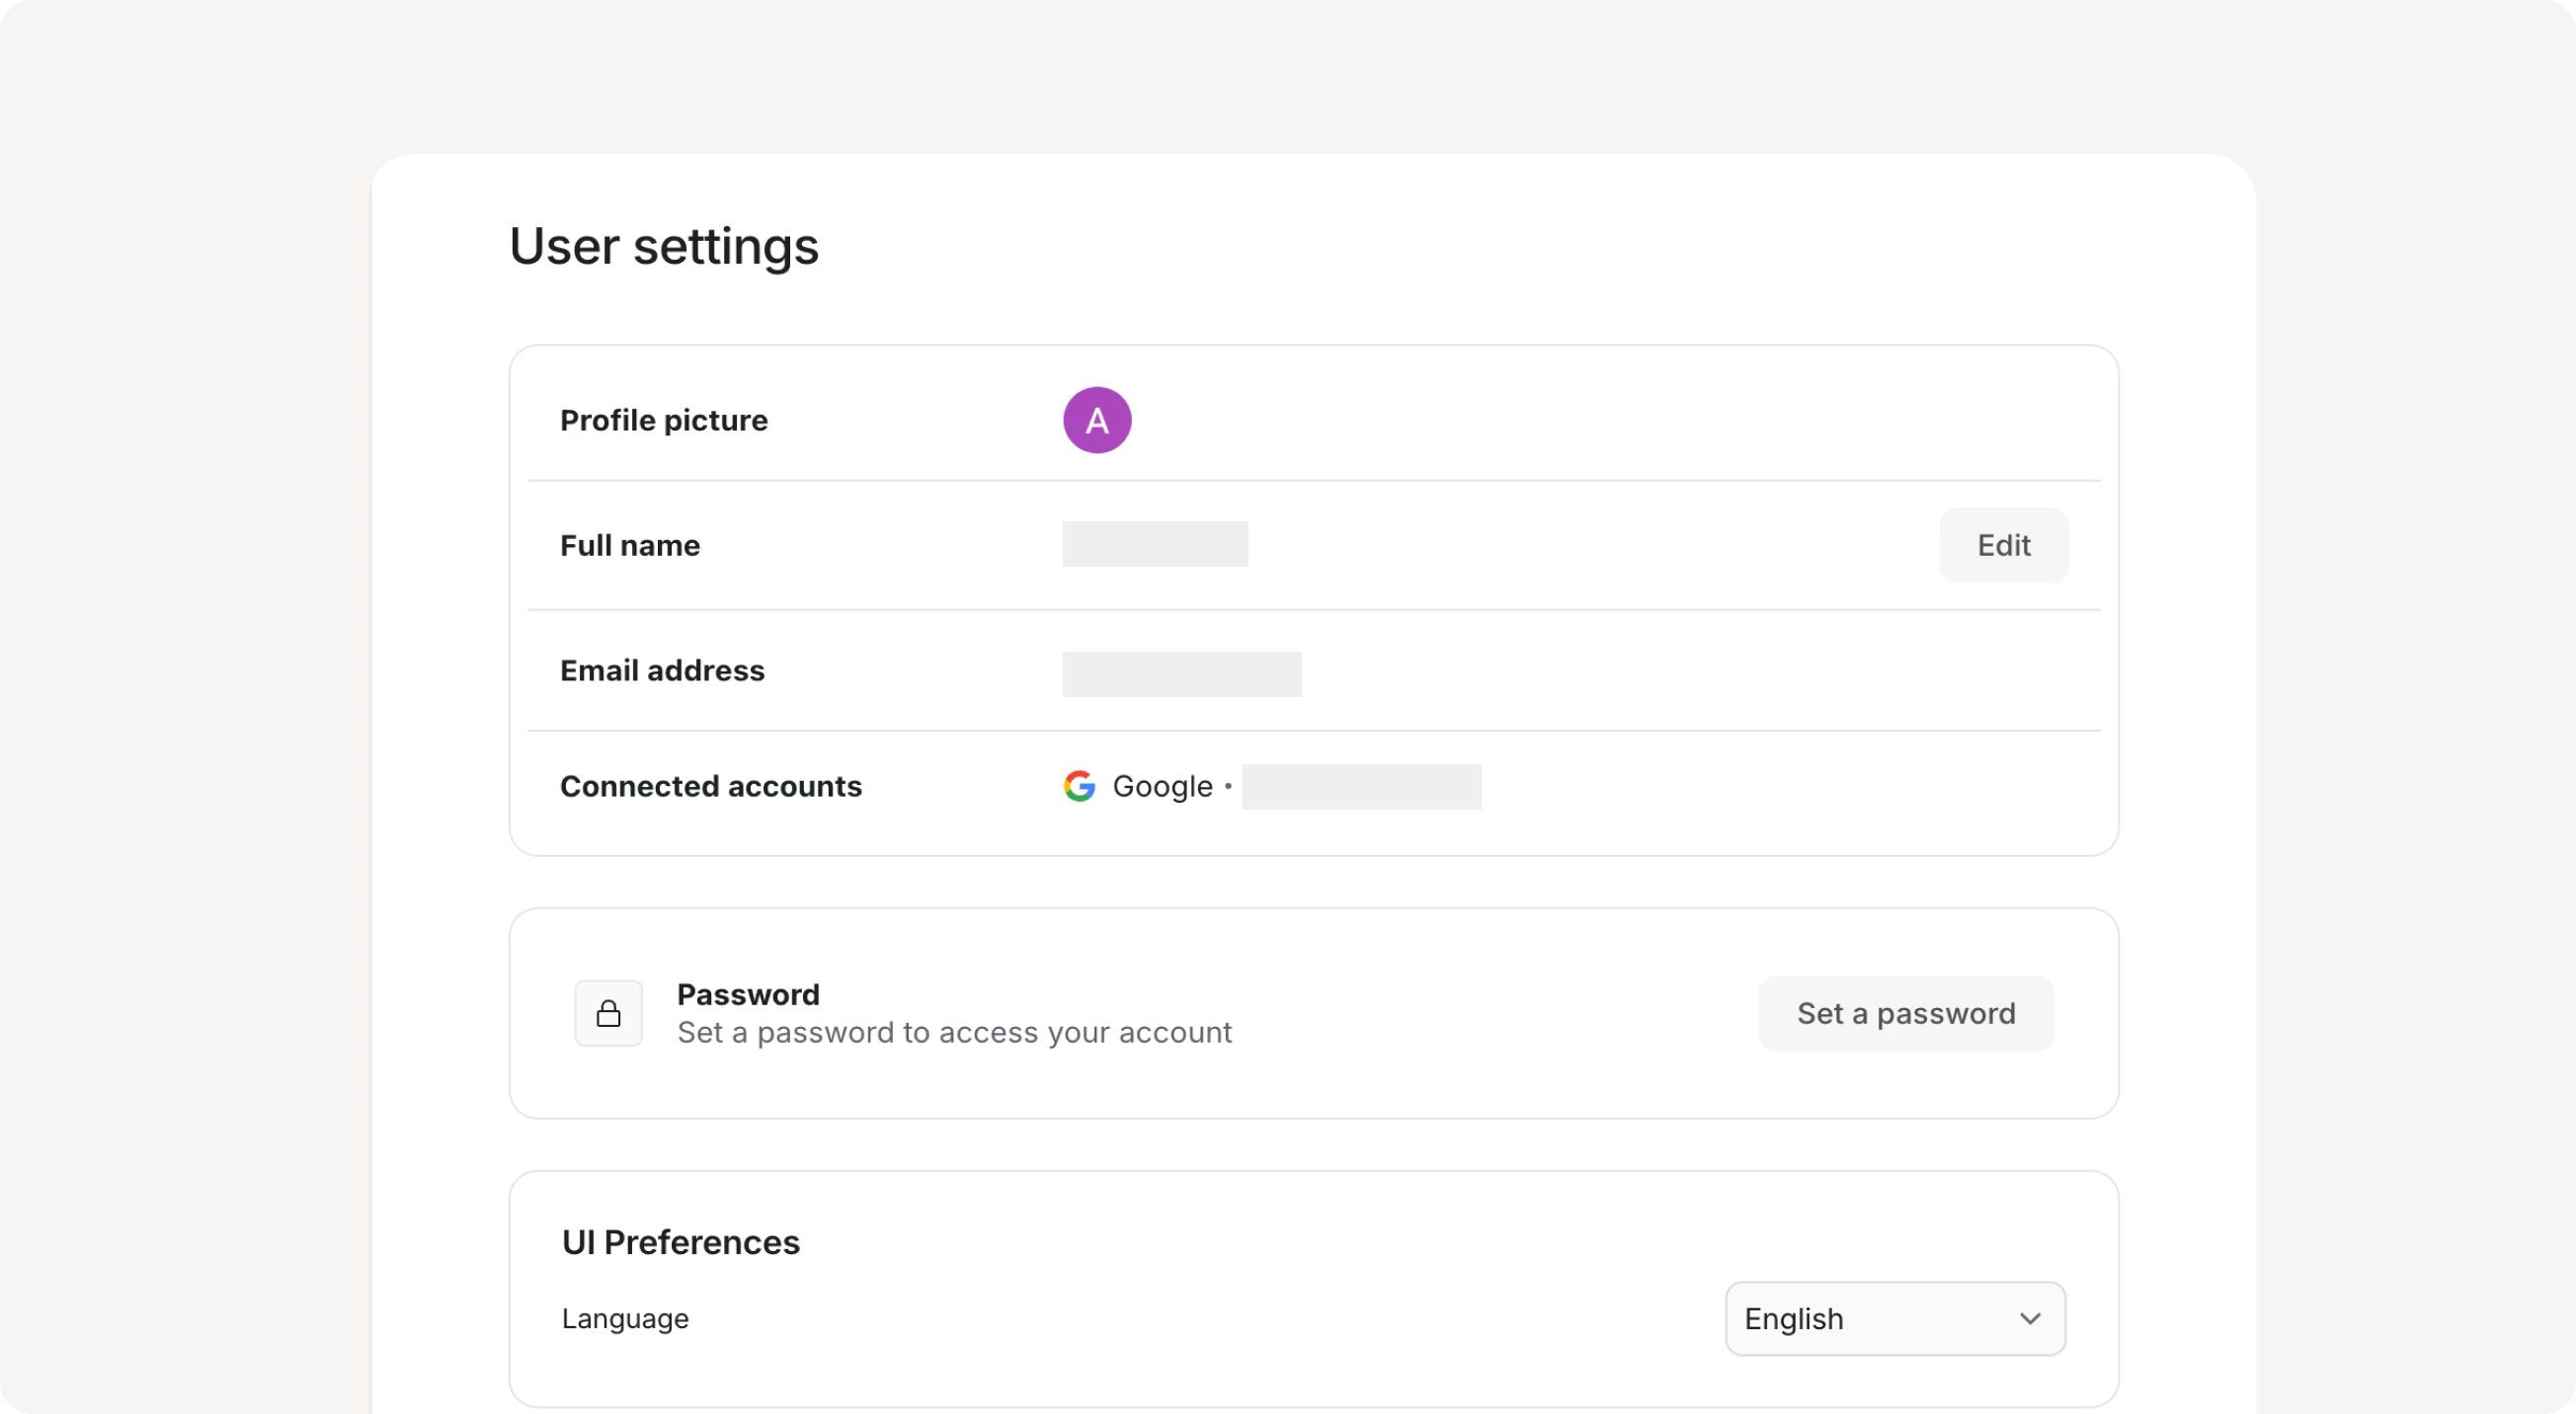 # Profile
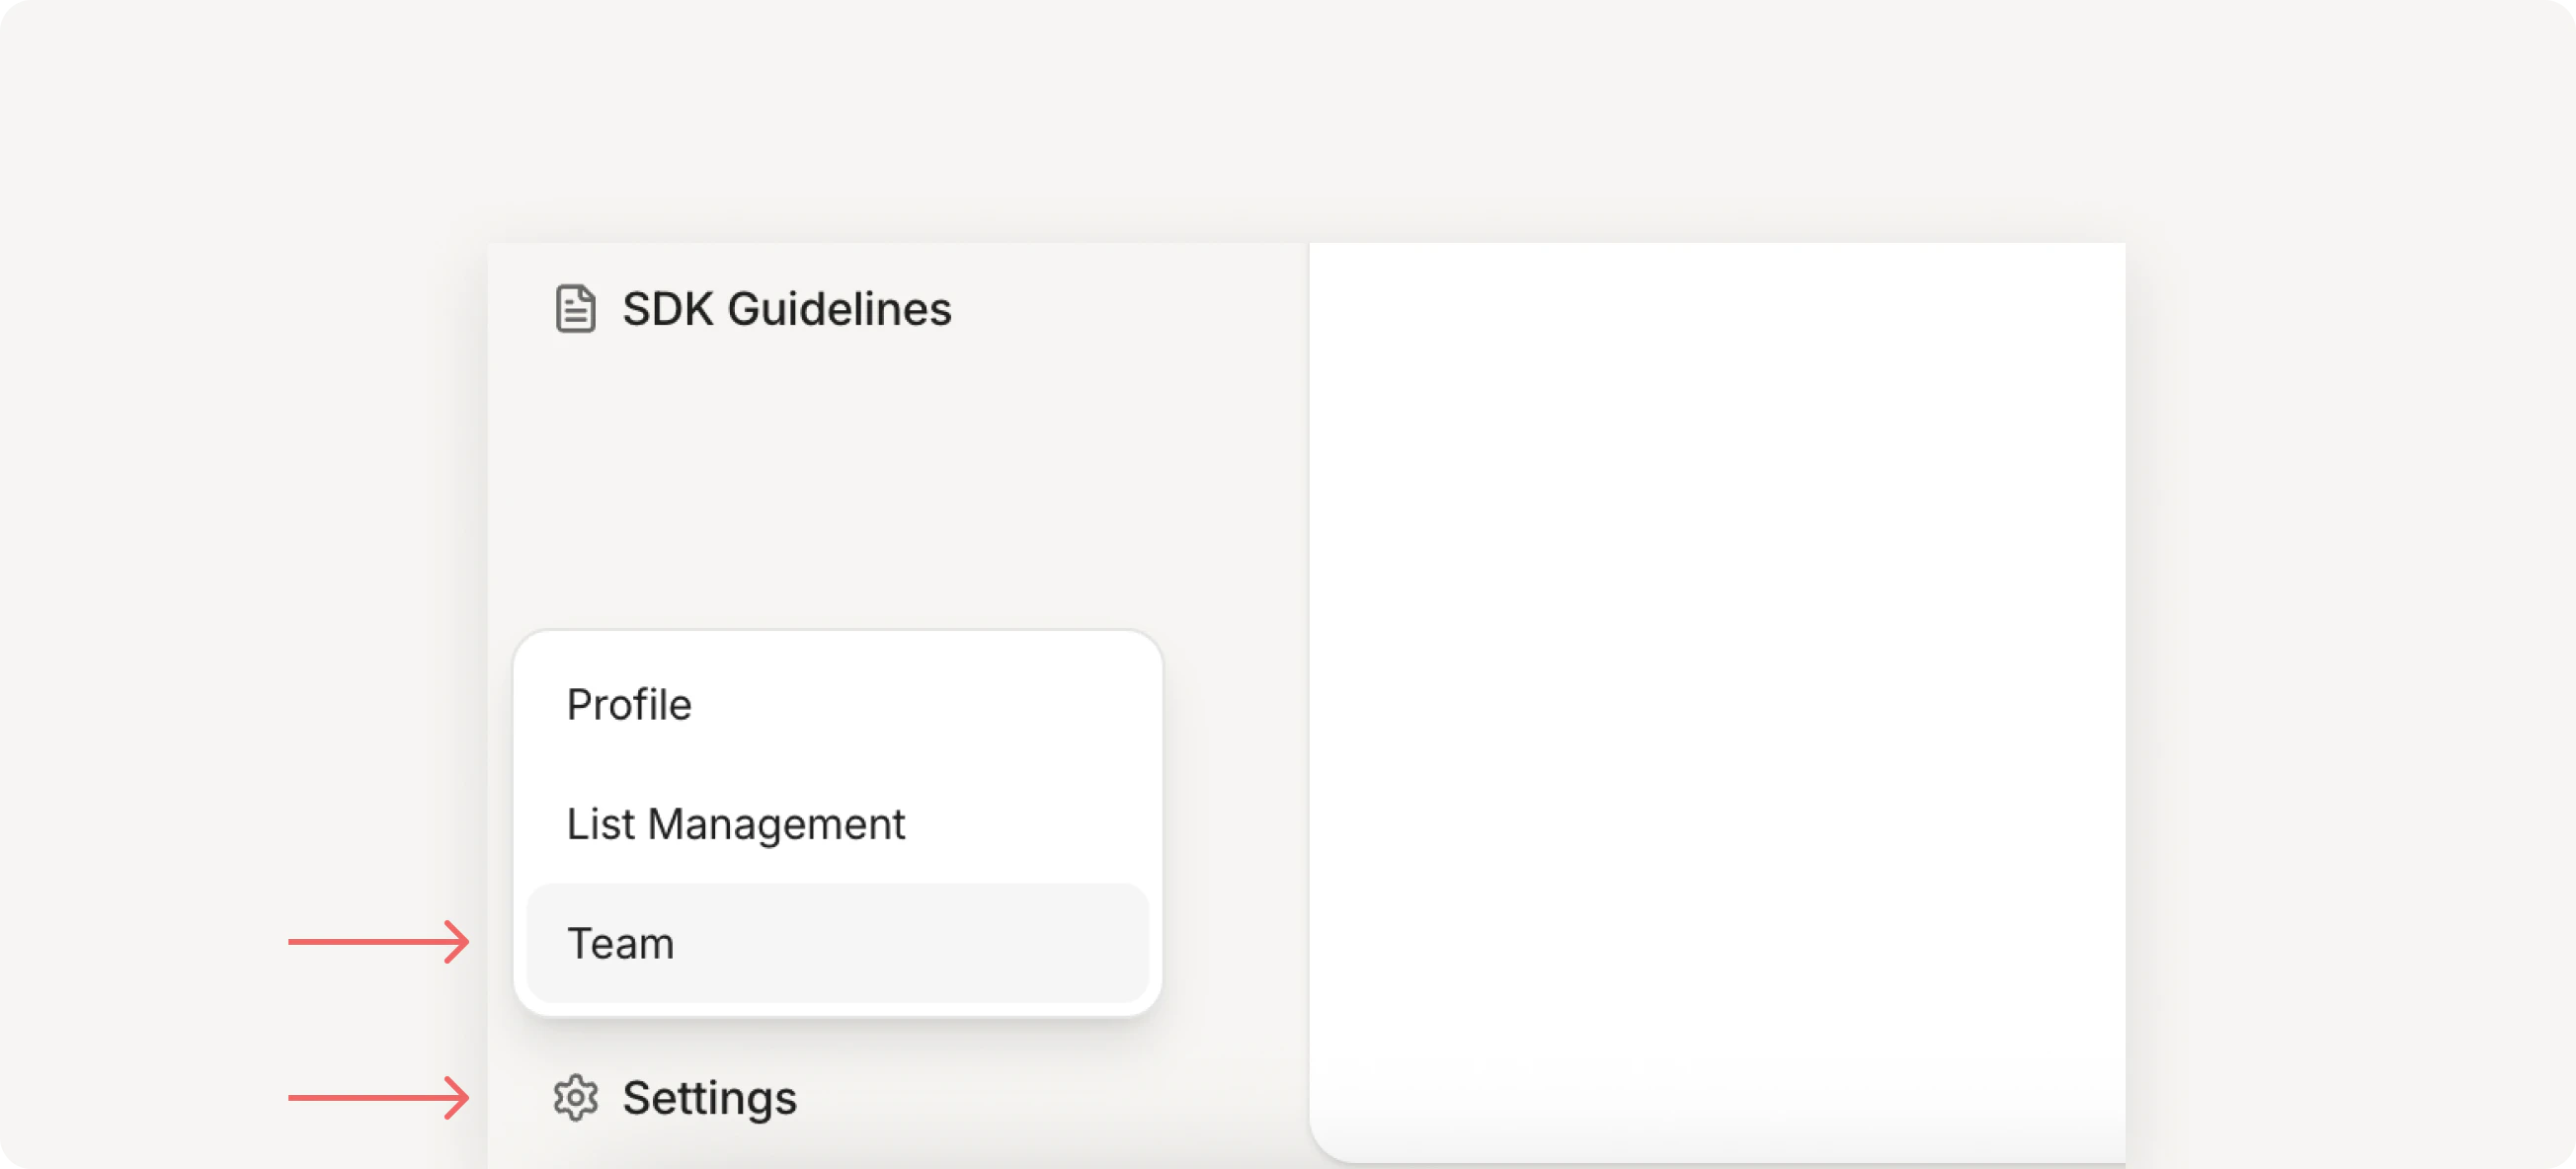
To access account and user profile:
1. Click **Settings** in the bottom left corner
2. Select **Profile** from the dropdown menu
| CloudX property | Description |
| ------------------ | -------------------------------------------------- |
| Full name | Your display name. Click **Edit** to change it. |
| Email address | The email address associated with your account. |
| Connected accounts | Shows which authentication method you use. |
| Password | Set a password to access your account. |
| UI Preferences | Choose your language preference: English, Chinese. |
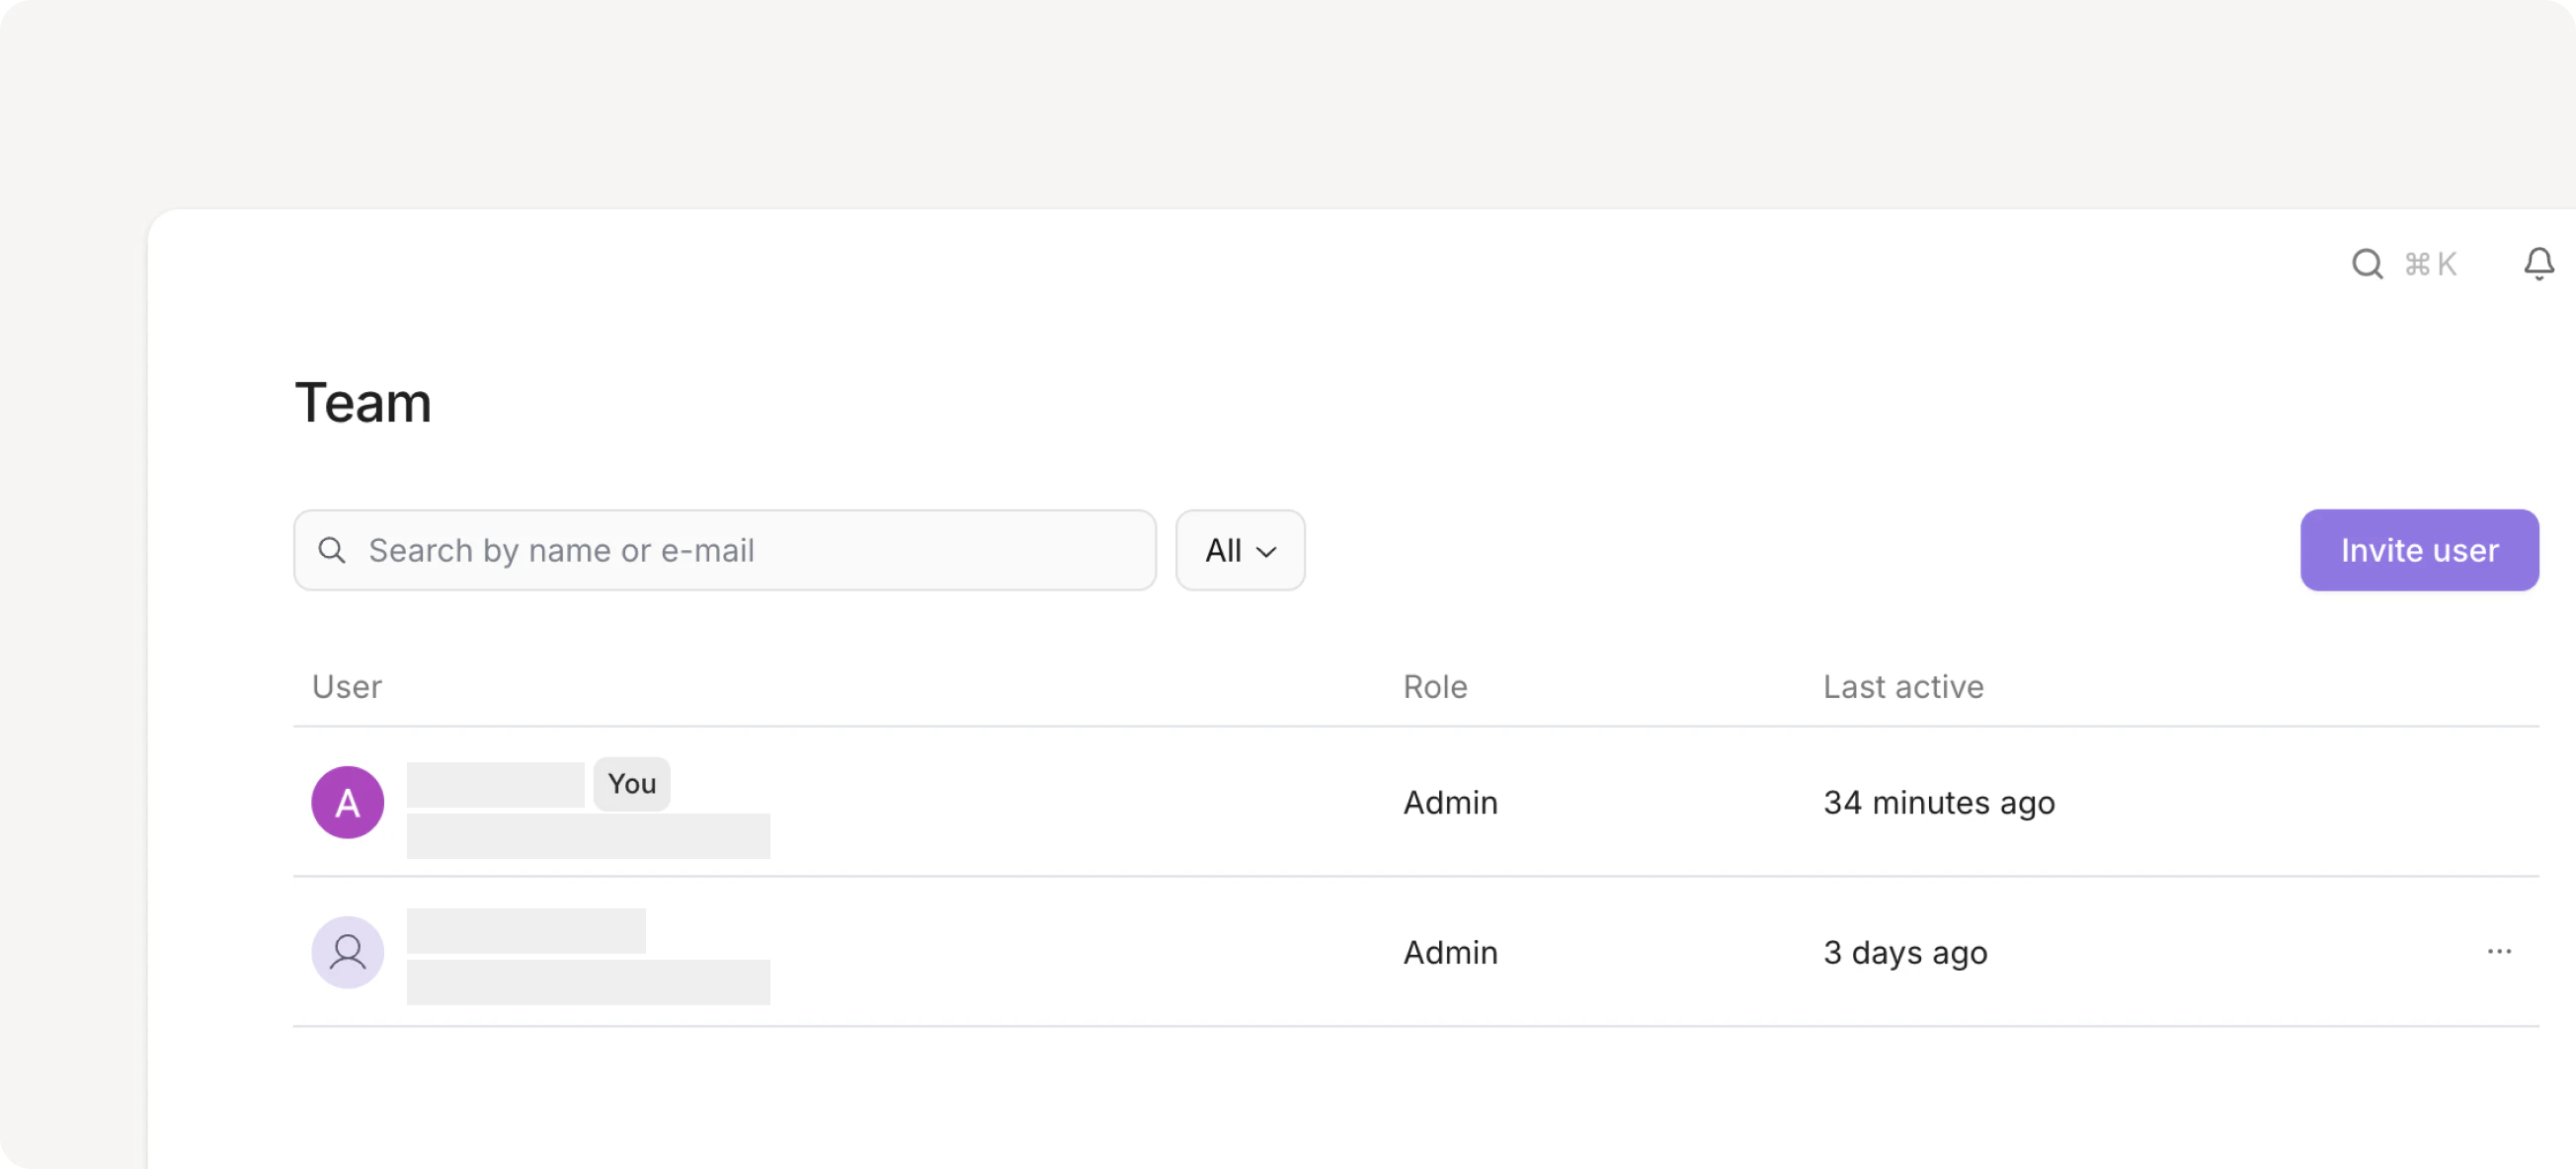
# Members and roles
CloudX offers three role types to control access and permissions. Each role provides team members with the appropriate level of access.
Admins can manage members and their roles from the Team page. Access it by clicking **Settings > Team**.
# Profile
To access account and user profile:
1. Click **Settings** in the bottom left corner
2. Select **Profile** from the dropdown menu
| CloudX property | Description |
| ------------------ | -------------------------------------------------- |
| Full name | Your display name. Click **Edit** to change it. |
| Email address | The email address associated with your account. |
| Connected accounts | Shows which authentication method you use. |
| Password | Set a password to access your account. |
| UI Preferences | Choose your language preference: English, Chinese. |
# Members and roles
CloudX offers three role types to control access and permissions. Each role provides team members with the appropriate level of access.
Admins can manage members and their roles from the Team page. Access it by clicking **Settings > Team**.
 This page lists all active members and shows their role, email, and last active time.
 # Role types
| Role | Permissions |
| ------ | ----------------------------------------------------------------------------------- |
| Admin | Admins have full control over the CloudX account. |
| Member | Members can create and manage monetization inventory but cannot manage team access. |
| Viewer | Viewers have read-only access to CloudX. |
# Sign in methods
CloudX provides multiple ways to sign in: email authentication, Google, or GitHub.
# Role types
| Role | Permissions |
| ------ | ----------------------------------------------------------------------------------- |
| Admin | Admins have full control over the CloudX account. |
| Member | Members can create and manage monetization inventory but cannot manage team access. |
| Viewer | Viewers have read-only access to CloudX. |
# Sign in methods
CloudX provides multiple ways to sign in: email authentication, Google, or GitHub.
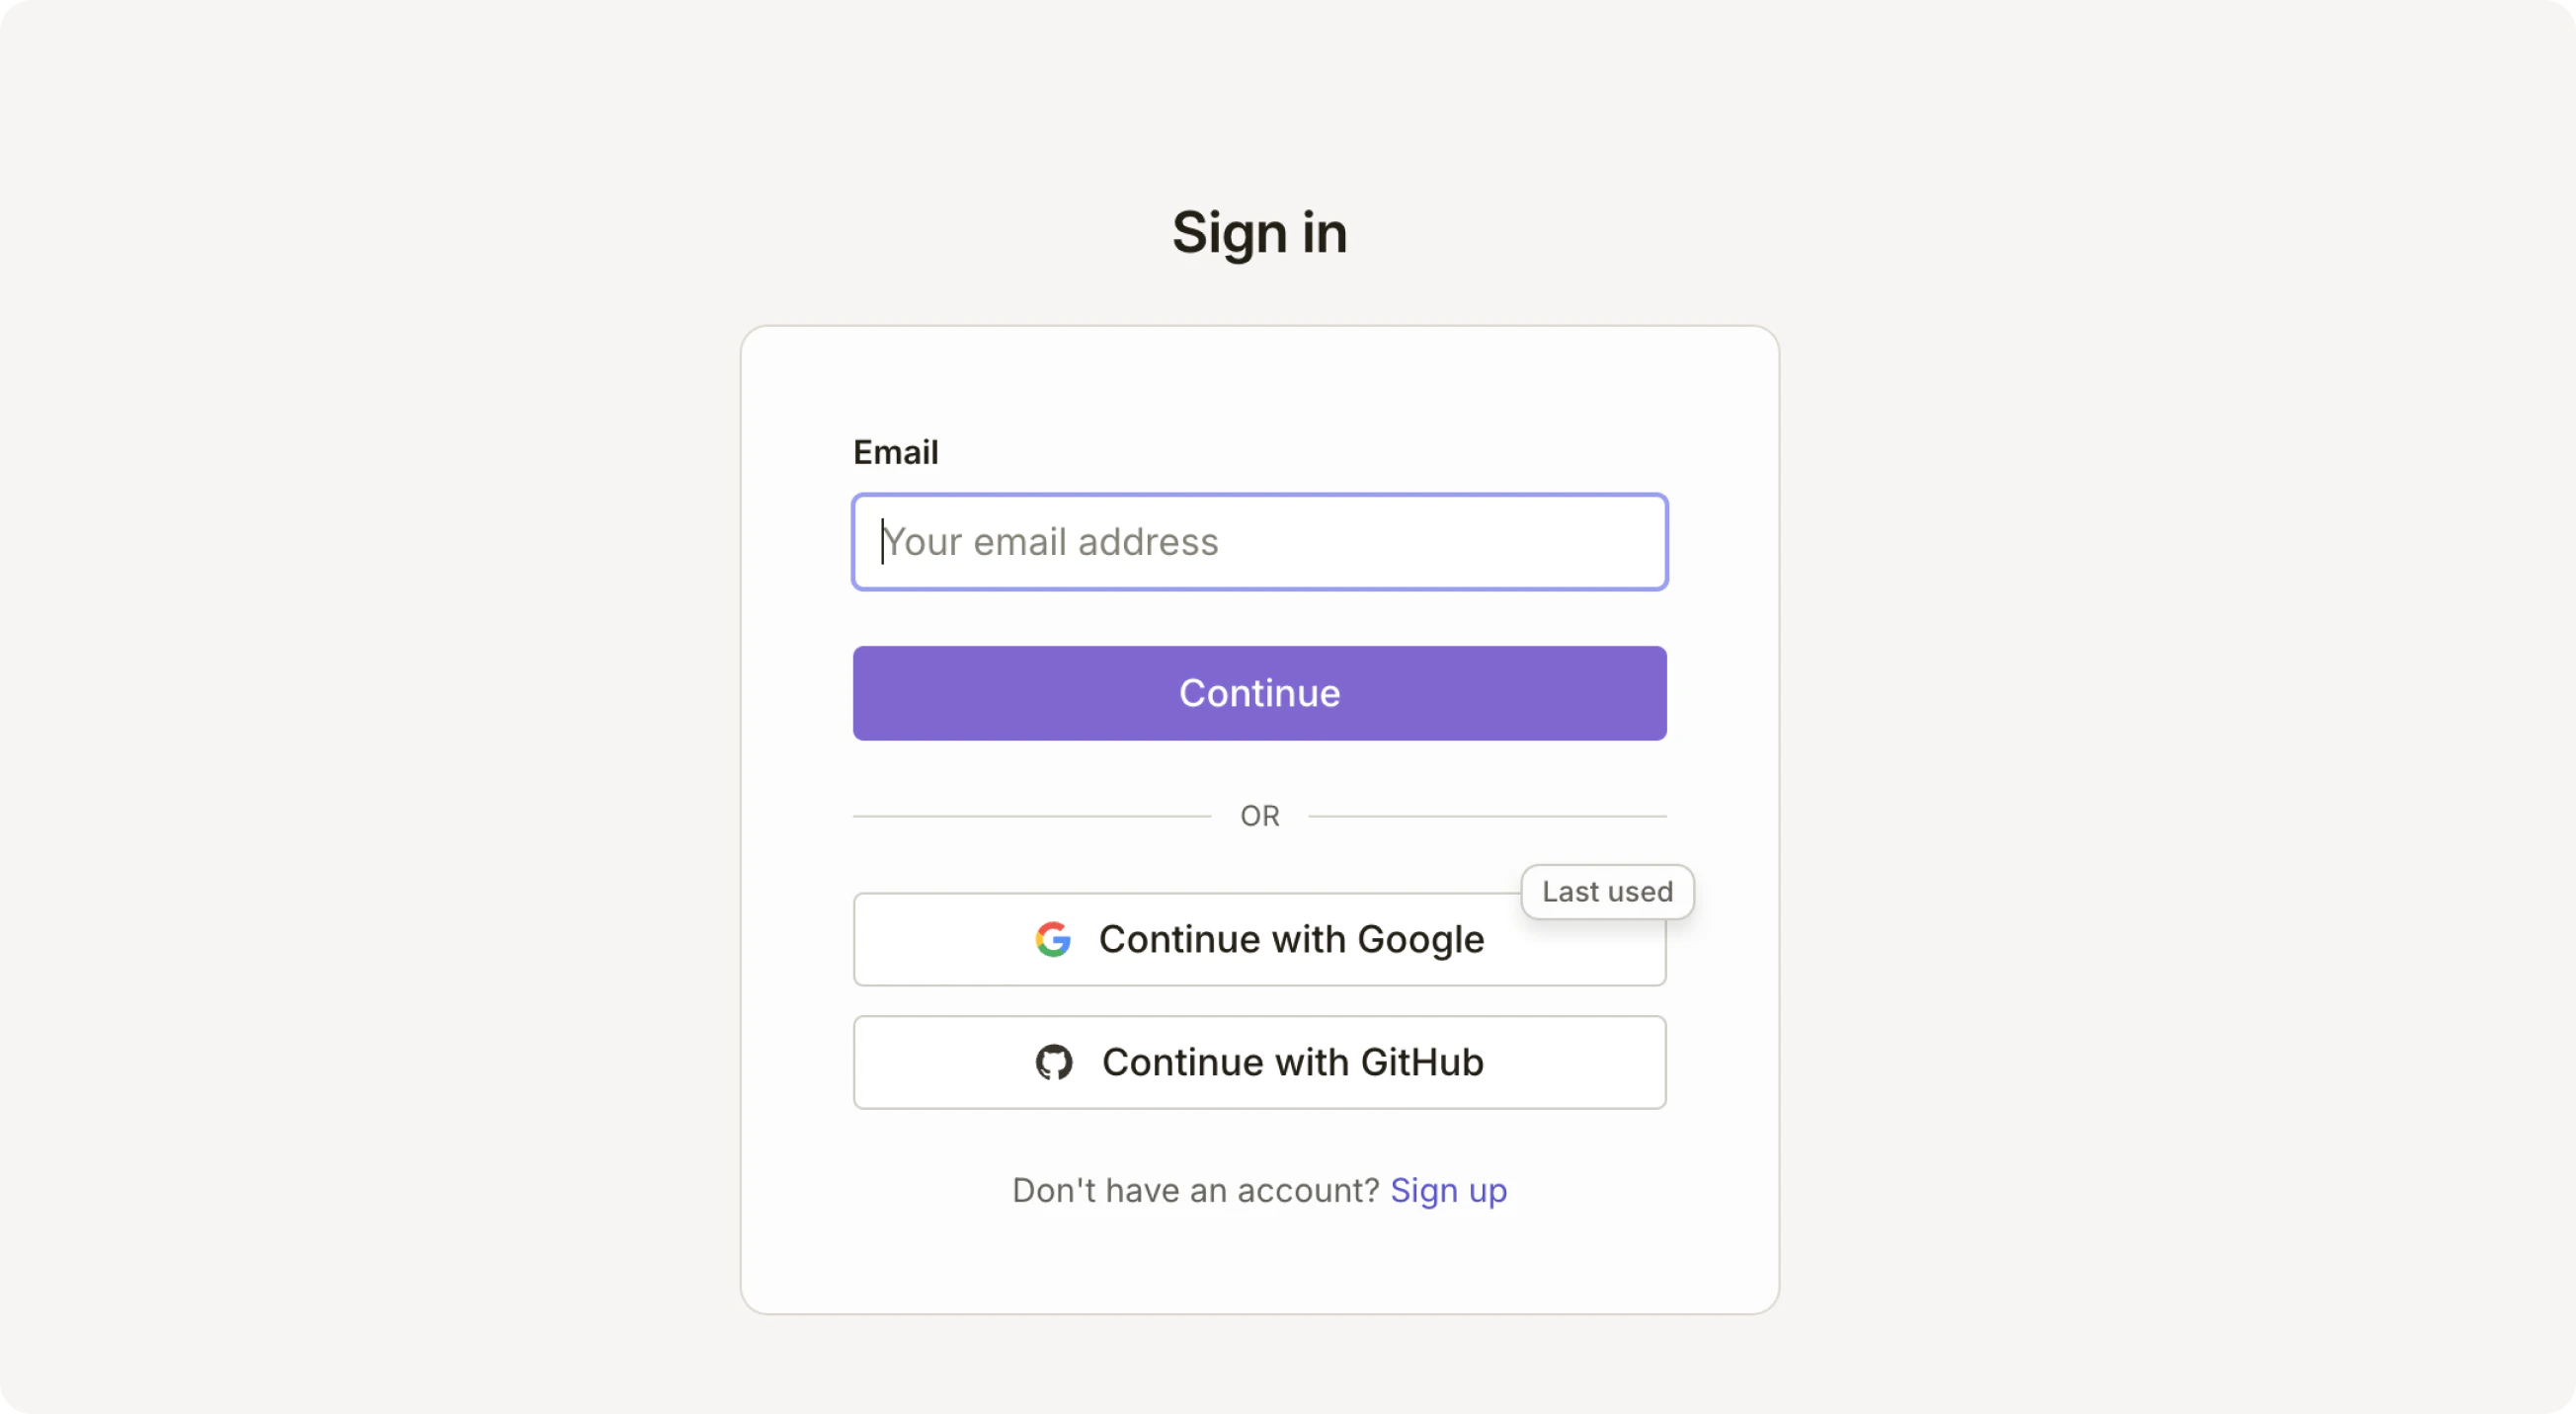 # Create an account
Click **Sign up** at the bottom of the sign in page. You can create an account using any of the sign in methods above.
When you create an account, you'll be prompted to set up your profile and organization settings.
# Logging out
To log out, click your profile avatar in the top right and select Log out. You'll be signed out of your current session.
# Organization
You can belong to multiple organizations under a single account. If you have other organizations associated with your user account (specific email), you will see a list of those organizations to select.
# Create an account
Click **Sign up** at the bottom of the sign in page. You can create an account using any of the sign in methods above.
When you create an account, you'll be prompted to set up your profile and organization settings.
# Logging out
To log out, click your profile avatar in the top right and select Log out. You'll be signed out of your current session.
# Organization
You can belong to multiple organizations under a single account. If you have other organizations associated with your user account (specific email), you will see a list of those organizations to select.
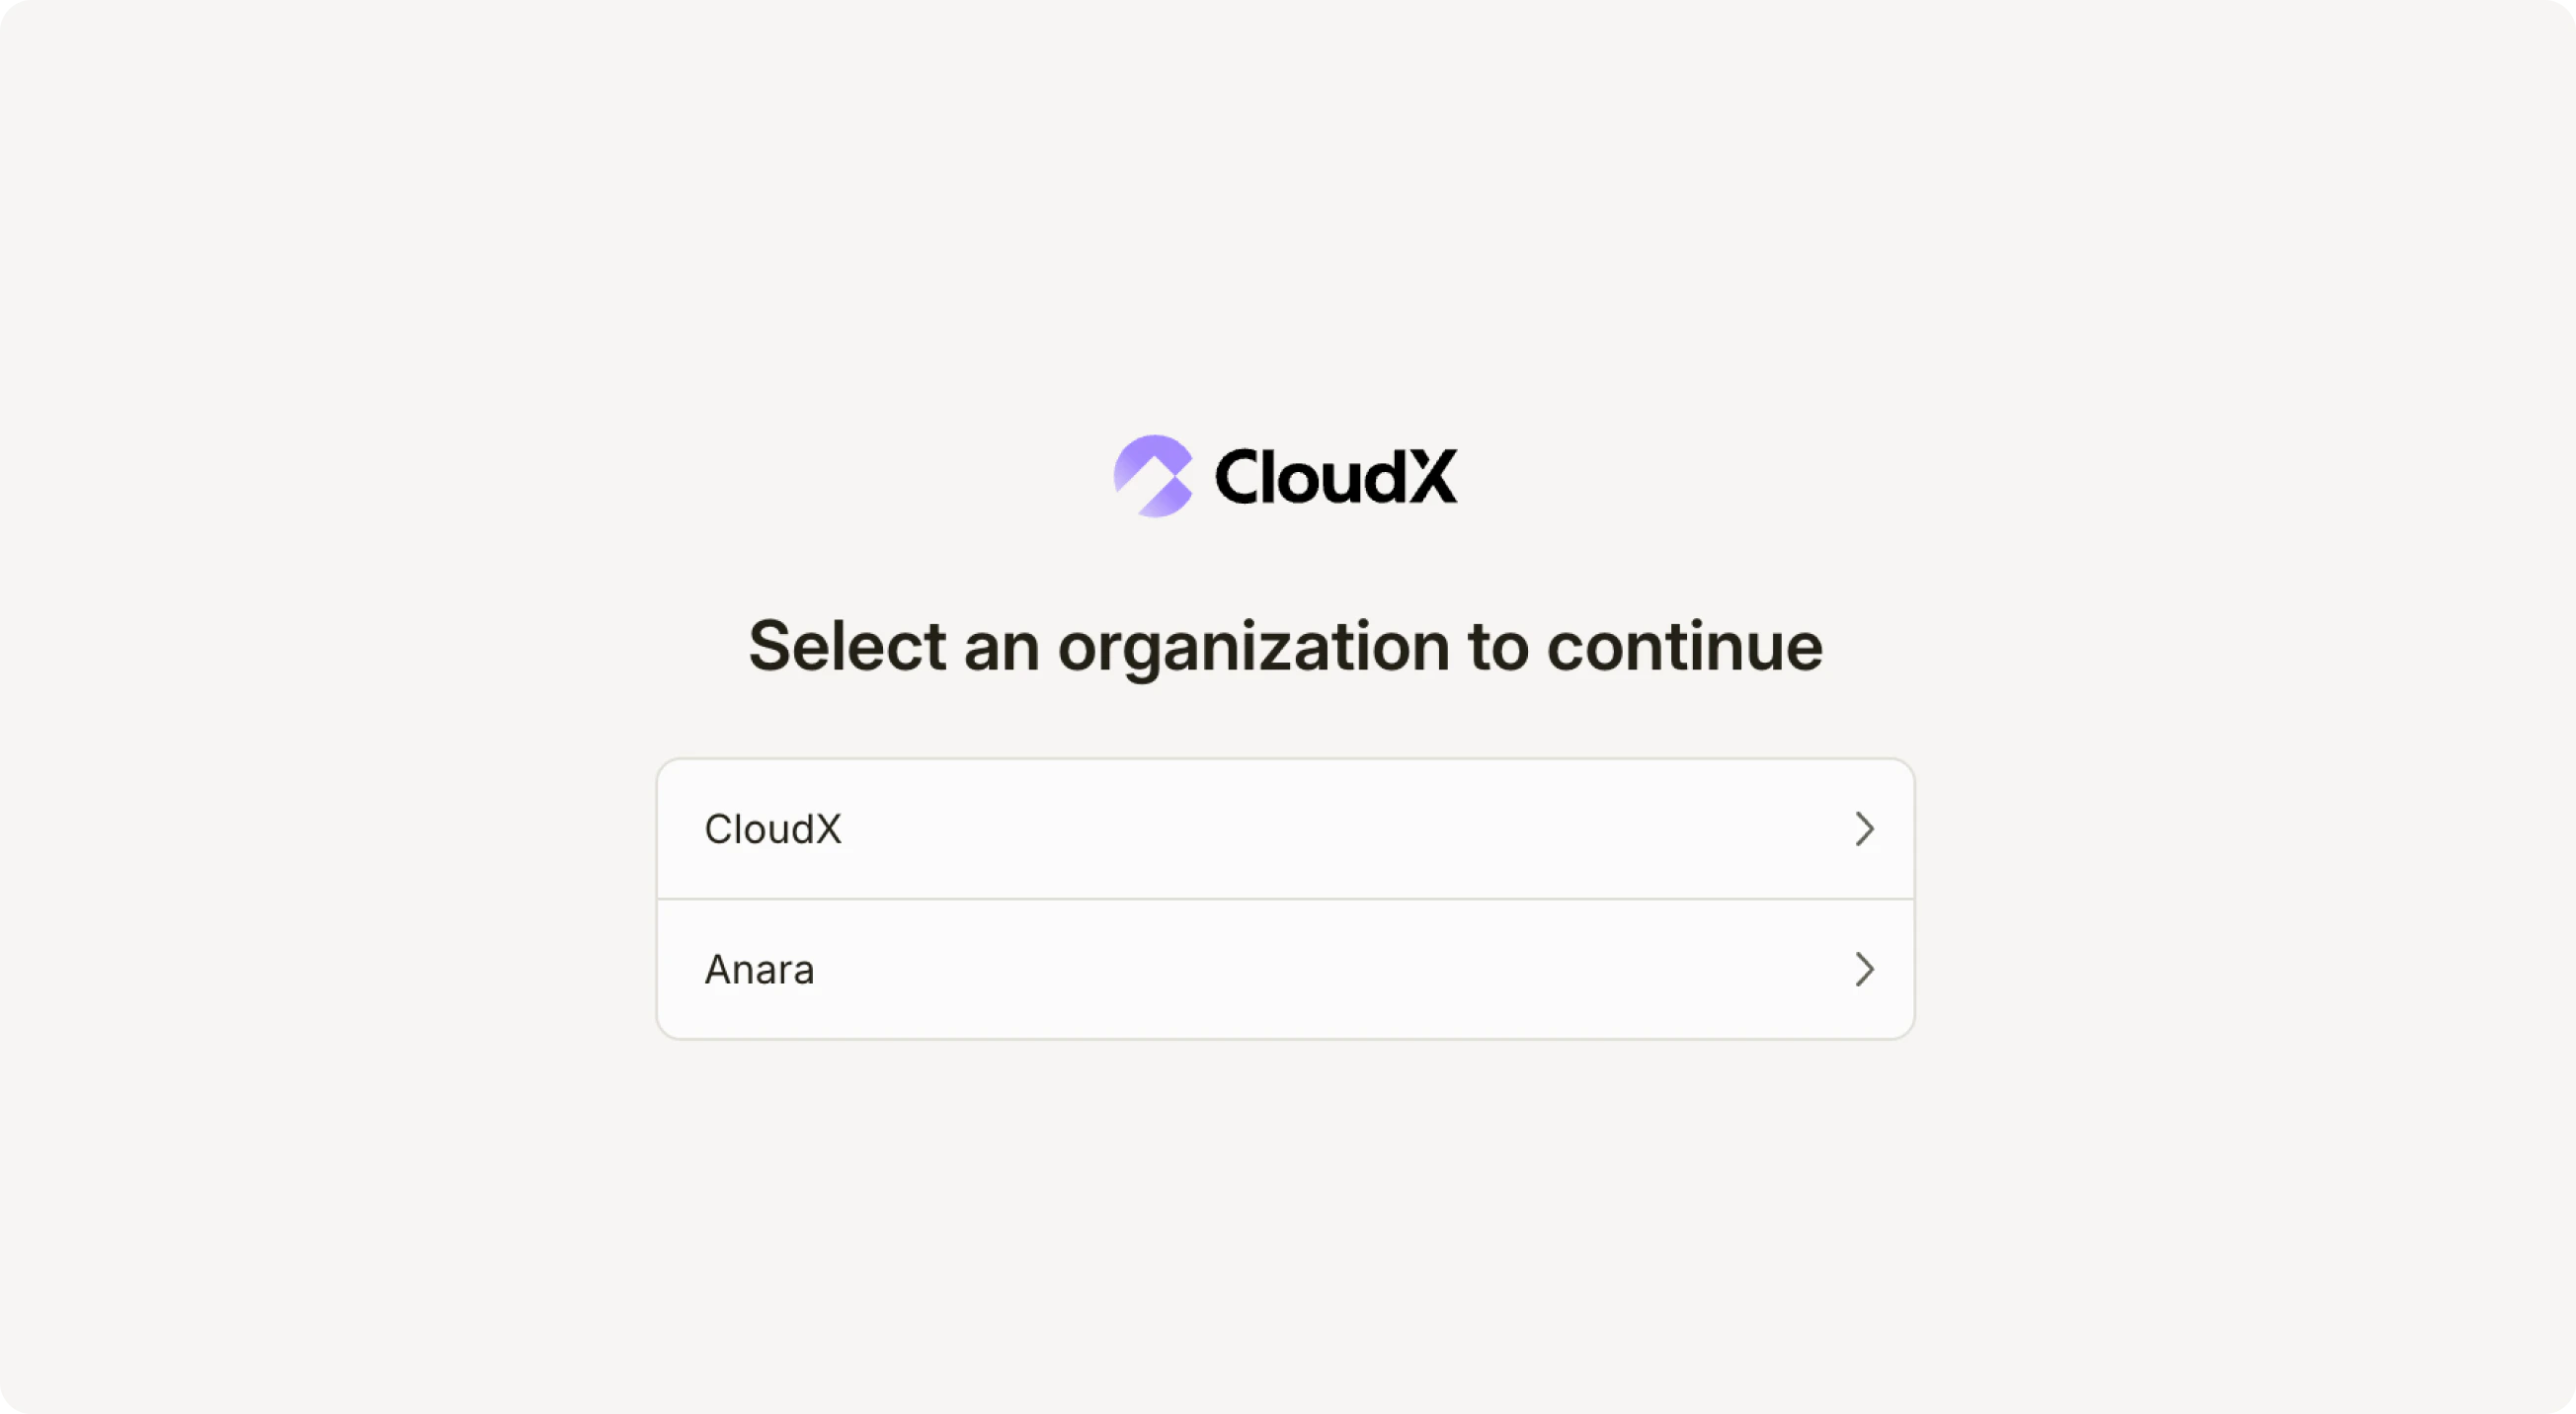 # Switch organization
Click your profile avatar in the top right, then select the organization you want to switch to from the dropdown menu.
# Invite members
Invite and manage members of your organization.
# Switch organization
Click your profile avatar in the top right, then select the organization you want to switch to from the dropdown menu.
# Invite members
Invite and manage members of your organization.
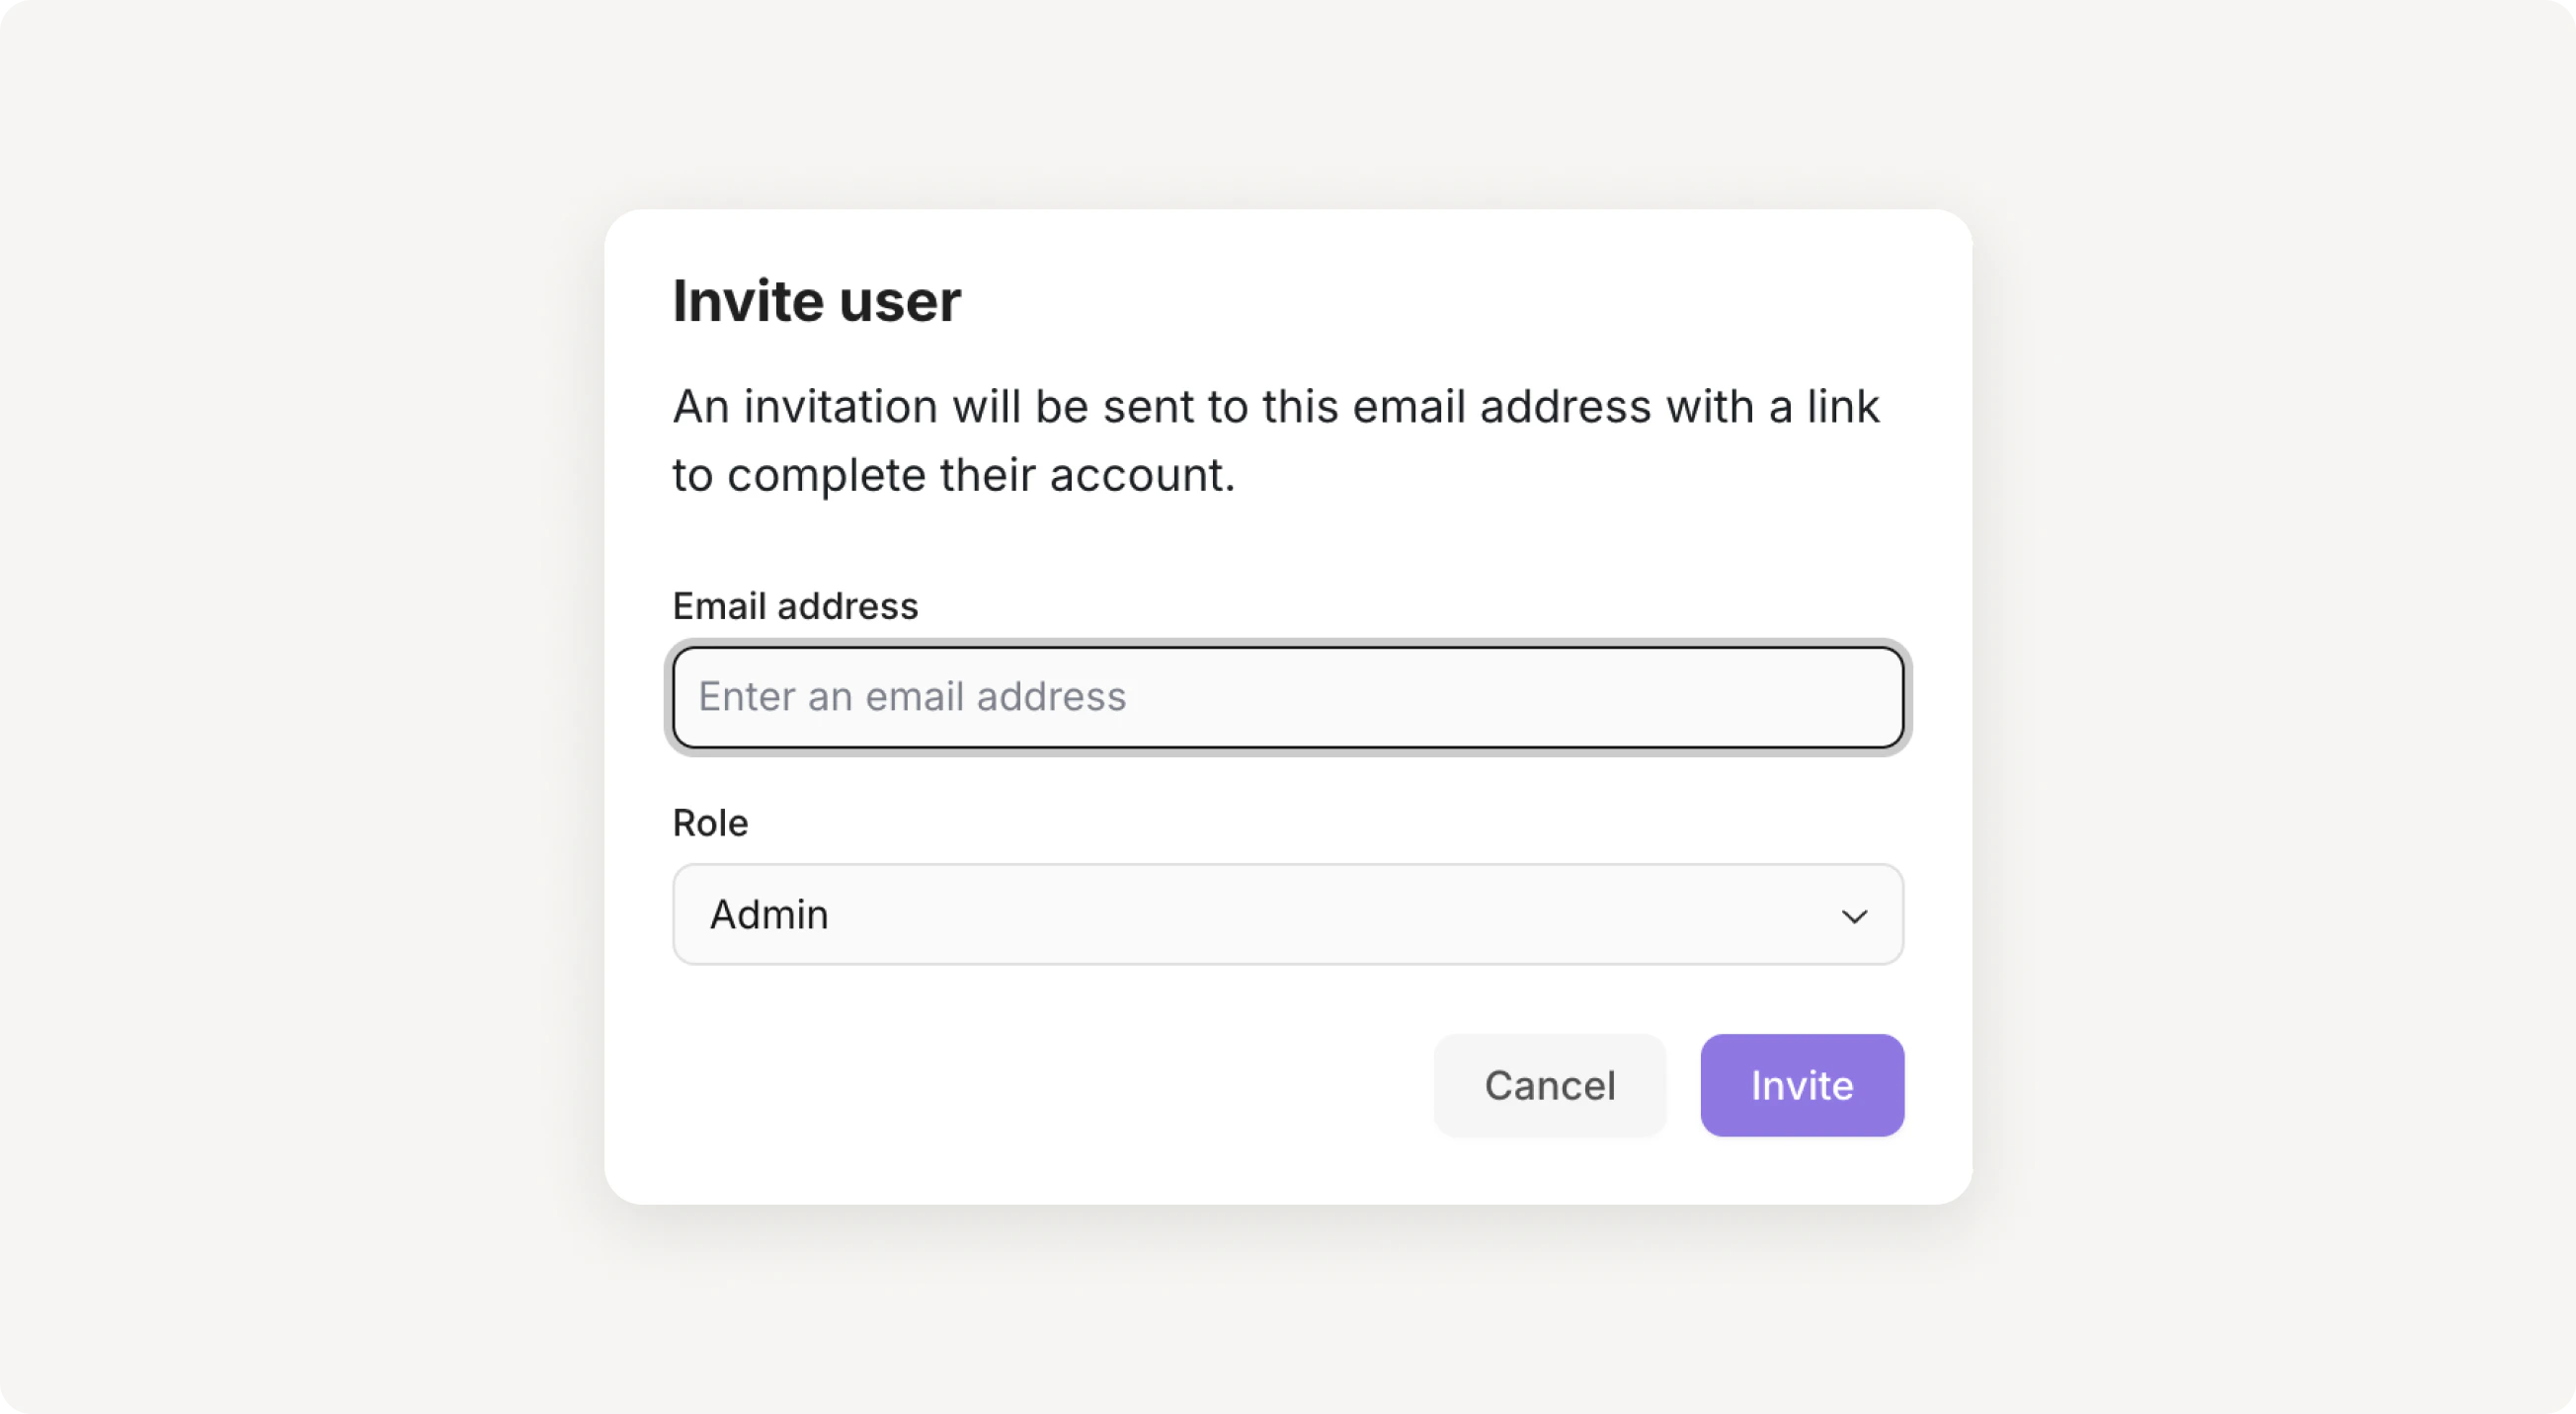 To invite a new team member:
1. Navigate to the Team page
2. Click **Invite user**
3. Enter the user's email address
4. Select a role
5. Click **Invite**
An invitation will be sent to the email address with a link to complete their account setup.
To invite a new team member:
1. Navigate to the Team page
2. Click **Invite user**
3. Enter the user's email address
4. Select a role
5. Click **Invite**
An invitation will be sent to the email address with a link to complete their account setup.